How to Compress a Video in iMovie
Compress a video in iMovie by trimming the timeline and lowering resolution or quality during File Share export on Mac.
iMovie makes a video smaller when it exports the project. Trim footage you do not need, open the file export dialog, and reduce resolution or quality. Keep the project and original clips until you have watched the exported copy.
Compress during iMovie export
These steps apply to iMovie on Mac:
- Open the project and remove unused footage from the timeline.
- Click Share, then File, or use File → Share → File.
- Keep Format set to Video and Audio unless you only need audio.
- Choose a lower Resolution. Start with 1080p for a 4K project or 720p for a small review copy.
- Change Quality from Best to High, Medium, or Low. Avoid Best (ProRes) when file size matters.
- Note the Compress option: it mainly changes how long encoding takes. Resolution and Quality drive size more clearly.
- Check the estimated file size in the dialog.
- Click Next, pick a new filename, and save.
Apple’s iMovie export help confirms that lowering resolution or choosing Medium or Low quality produces a smaller MP4. Available values depend on the source media and project.
Trimming is the only size cut that does not lower quality of the frames you keep. Remove setup time and long pauses before you touch image quality.
Choose export settings that shrink the file
Change one lever at a time. Match the destination, export a short test when you can, and inspect it.
| Destination | Starting point | Check closely |
|---|---|---|
| Large screen or client review | 1080p, High quality | Faces, gradients, motion |
| Chat, ticket, or email | 720p, Medium quality | UI text and captions |
| Very small reference copy | 540p or 720p, Low quality | Whether text stays readable |
Resolution sets pixels per frame. Dropping 4K to 1080p usually saves more than a small quality step.
Quality controls how much data the encode keeps. Medium suits many review copies; fast motion, foliage, or detailed screen text may need High.
Compress is not an exact megabyte control. iMovie shows an estimate, but you cannot type a hard output size. Leave headroom under portal limits rather than aiming at the cap exactly.
Check the result before you delete anything
Open the export outside iMovie. Scrub a detailed frame, the fastest motion, and a quiet audio section. Confirm captions stay readable and the file plays through.
Then check size in Finder with Get Info. If it is still too large, return to the project and change one setting:
- Trim more if the message survives without that footage
- Move from 1080p to 720p for small screens
- Move from High to Medium if resolution must stay
Keep the iMovie project and source clips as the editing master. Re-importing and re-exporting an already compressed file adds another lossy pass.
When iMovie cannot reach your size
iMovie is an editor with useful export controls, not a target-size compressor. Limits show up when you need several finished videos, the same settings every week, a specific codec, or an exact upload cap.
If the destination accepts links, share the full-quality file through an approved service instead of crushing text. If it requires an attachment, use a dedicated target-size video workflow rather than guessing between iMovie presets.
For a single project that still needs editing, stay in iMovie. Do not export once and run another lossy pass unless the first export misses a real size or compatibility need.
After editing, compress finished files with GetCompress
GetCompress fits the step after editing. Drop finished MOV or MP4 files, preview and trim if needed, then compress locally without rebuilding an iMovie timeline.
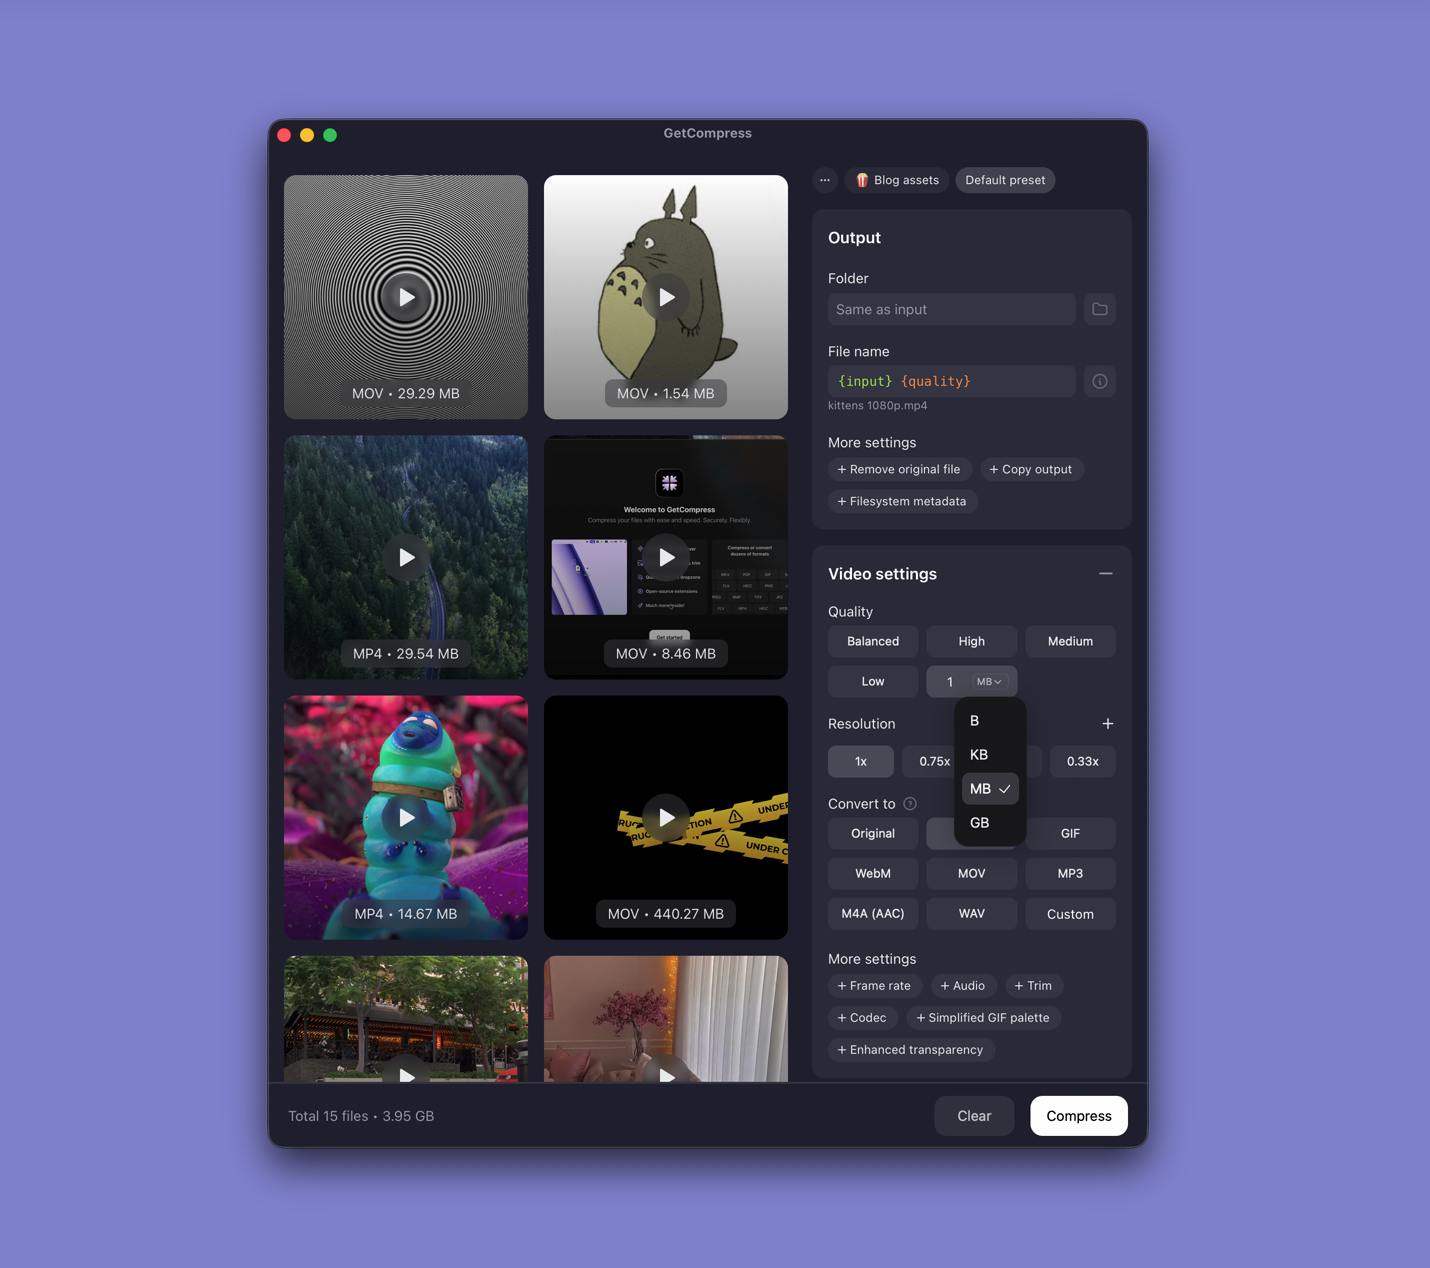
Choose a simple quality level, or set an exact video target file size when the form lists a megabyte limit. Queue a batch, save a delivery preset, and keep masters untouched. iMovie remains the right tool for clips, titles, transitions, and sound. GetCompress handles repeatable delivery copies when the edit is done.
Compare source and export with the video comparison tool before you send. For broader Mac routes, see how to compress video on Mac .
- How to Compress Video on MacCompress video on Mac with GetCompress, QuickTime, or FFmpeg. Trim first, pick 720p or 1080p, and hit email or upload size limits without guessing.
- Target Video Size on MacHit an exact MB cap for email or uploads on Mac. Use GetCompress target file size, or FFmpeg two-pass encoding when you want manual bitrate control.
- Video quality on MacKeep a sharp review copy on Mac: trim first, downscale 4K to 1080p, use sensible CRF or presets, and check UI text before you send.
- Video bitrate explainedLearn what video bitrate means, how it affects MP4 and MOV file size, and practical bitrate ranges for email, web, and archive exports.