How to Compress a Video with VLC
Compress video with VLC by converting to a smaller H.264 MP4 profile, lowering bitrate or resolution, and checking the output.
VLC can make a video smaller by decoding it and encoding a new copy. Start with an MP4 container, H.264 video, and AAC audio. Lower video bitrate or resolution when the first result is still too large. Keep the source file; always write a new output name.
Compress with VLC on Windows or Linux
Labels vary slightly by version. On VLC 3 desktop:
- Open Media → Convert / Save.
- Click Add, select the source, then Convert / Save.
- Choose an MP4 profile with H.264 video and AAC audio.
- Click the profile edit control (often a wrench) to change settings.
- In Video codec, enable video and set a lower bitrate. Use Resolution to scale down when needed.
- In Audio codec, keep AAC; lower audio bitrate only if audio is a large share of the file.
- Choose a destination path ending in
.mp4. - Click Start and wait until VLC finishes before opening the output.
VideoLAN documents this as transcoding and saving a new file . Test one short clip before you apply the same profile to a long recording.
Compress with VLC on Mac
On macOS:
- Open File → Convert / Stream.
- Drop the source in or open media.
- Select a profile that outputs H.264 in MP4.
- Use Customize to change bitrate, frame size, or audio.
- Choose Save as File, enter a new
.mp4name, then start.
The Mac dialog exposes the same tradeoffs as Windows. Mismatched codec and extension pairs are easy to create, so confirm H.264 + AAC + .mp4 before long encodes.
Settings that reduce file size
Duration and total bitrate drive size. For the same length, a lower bitrate shrinks the file. Lower resolution helps quality hold up at that smaller bitrate.
| Change | Likely effect | Main tradeoff |
|---|---|---|
| Trim the source first | Smaller in proportion to removed time | Removes content |
| Lower video bitrate | Smaller output | Blocking or smearing |
| Scale 4K to 1080p or 1080p to 720p | Large reduction potential | Less detail |
| Use H.265 instead of H.264 | Better efficiency in many cases | Weaker compatibility |
| Lower audio bitrate | Modest reduction for most videos | Audible artifacts if pushed too far |
For unknown audiences, prefer H.264 in MP4. H.265 can be efficient, but the recipient and upload service must support it. See H.264 vs H.265 .
Avoid fixed bitrate recipes without considering content. Screen text, static slides, and sports need different data at the same resolution. Change one setting, encode a representative section, and judge the result. Background: what is video bitrate .
Fix empty, oversized, or unplayable output
- Audio only, no video: edit the profile and confirm Video is enabled.
- No audio: check Audio codec and use AAC for MP4.
- Almost the same size as the source: confirm VLC re-encoded video, not only the container. Then lower bitrate or resolution. Renaming MOV to MP4 does not shrink encoded data by itself.
- Will not open elsewhere: match the extension to the container, and test a plain H.264 + AAC profile first.
- Poor quality: do not compress the bad file again. Return to the original, raise bitrate or keep higher resolution, and encode one new copy.
When VLC is enough
VLC can work when it is already installed, you have one file, and a standard profile fits.
It is less convenient for an exact megabyte target, before-and-after inspection, several files, or settings you reuse every week. GetCompress handles those jobs locally: queue mixed formats, trim and preview, save presets, and set a video target file size when forms list a hard cap.
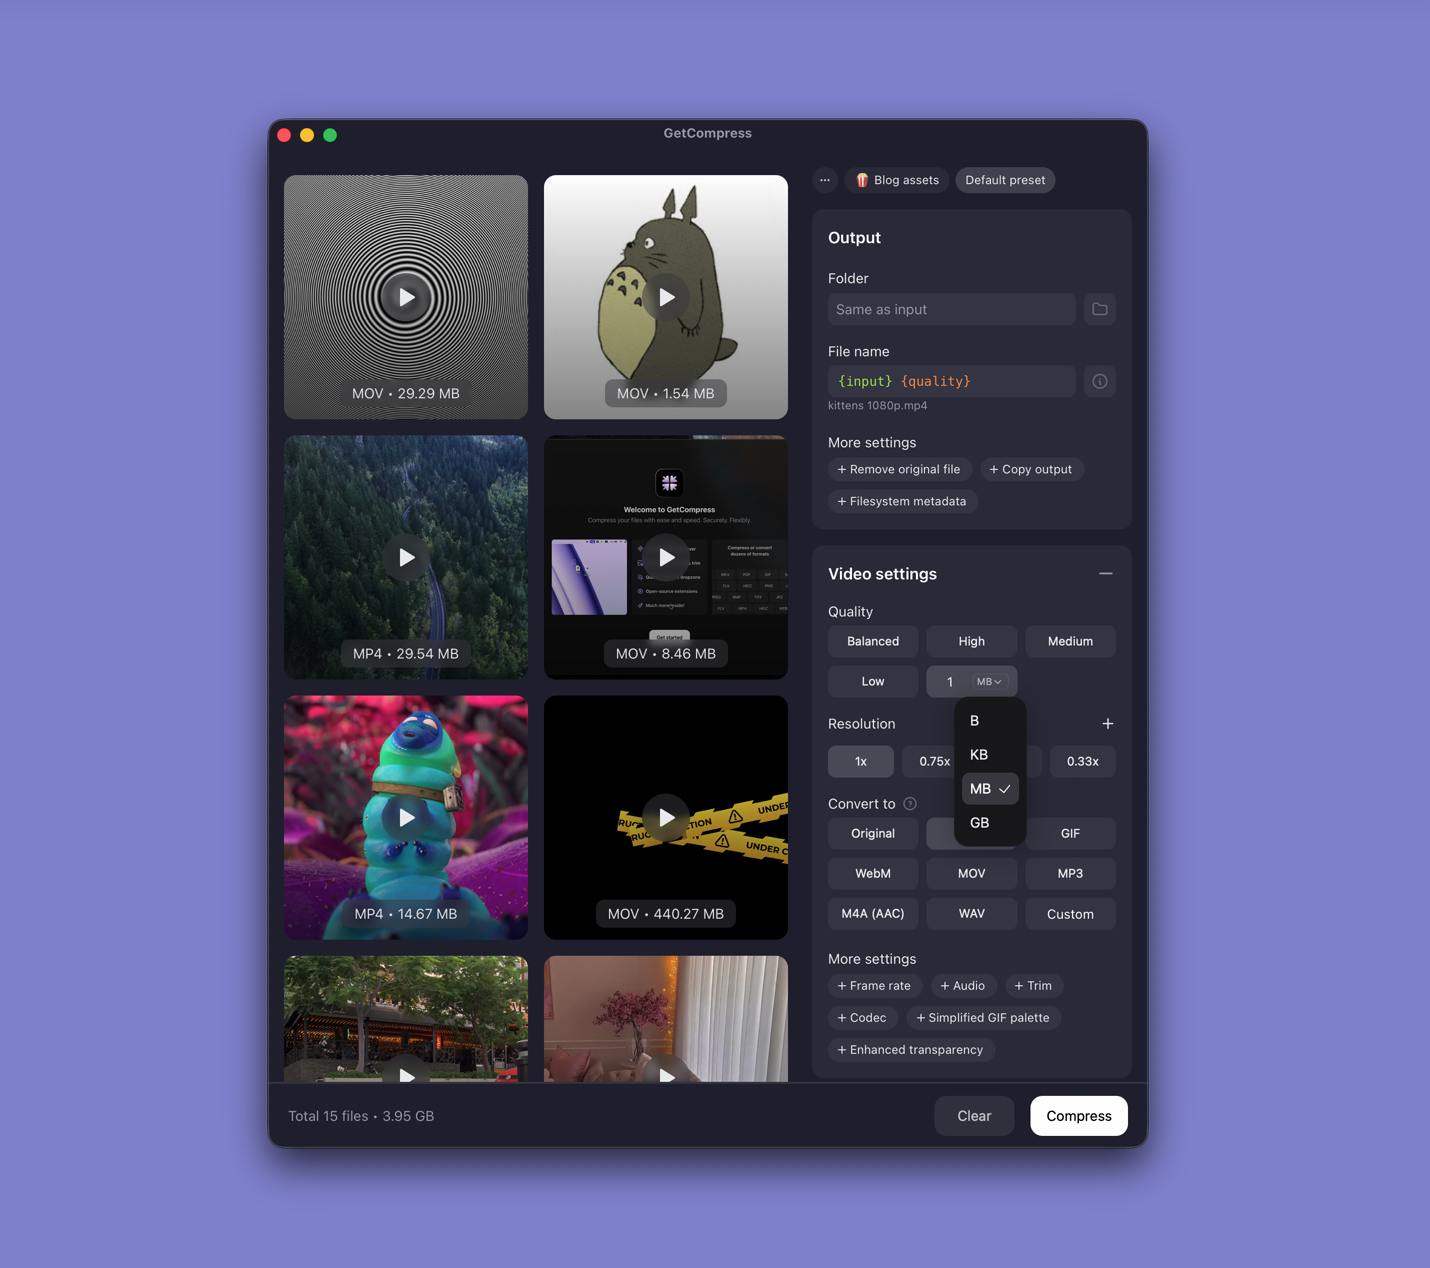
VLC remains a useful player and one-off transcoder. GetCompress is the more direct path when compression itself is the recurring task. Whichever tool you use, open the result in a second player and scrub the full duration before you replace or send the source. Platform walkthroughs: compress video on Mac and compress video on Windows .
- How to Compress Video on MacCompress video on Mac with GetCompress, QuickTime, or FFmpeg. Trim first, pick 720p or 1080p, and hit email or upload size limits without guessing.
- How to Compress Video on WindowsCompress video on Windows with GetCompress, Clipchamp, or FFmpeg. Trim first, pick 720p or 1080p, and clear email or upload size limits.
- H.264 vs H.265Compare H.264 (AVC) and H.265 (HEVC) for file size, quality, compatibility, and when to pick each codec for sharing video.
- Video bitrate explainedLearn what video bitrate means, how it affects MP4 and MOV file size, and practical bitrate ranges for email, web, and archive exports.