Convert PSD to JPG on Mac: 3 Methods
Export PSD to JPEG on Mac with Preview or your design app, then batch resize. Keep the PSD master; deliver flattened JPEG proofs.
The client portal accepts JPEG, not PSD. Marketing needs a flattened proof. Developers want an asset, not a 400 MB layered file. Keep the PSD master in the design repo. Export JPEG copies at the right width and quality. Local export keeps unreleased campaign layers off online converters.
Keep the PSD master
| File | Role |
|---|---|
| PSD | Edit master, layers, smart objects |
| JPEG | Client proof, web, email, CMS |
| PNG | When transparency still matters |
Never overwrite PSD when exporting JPEG. Never deliver PSD unless the contract requires editable layers. Flatten or merge visible layers in your design app when the JPEG must match the approved comp.
For general PNG to JPEG after export: PNG to JPG on Mac . For camera RAW: RAW to JPG on Mac .
Method 1: Export JPEG from Preview
Best for: One or two proofs when Preview reads the PSD correctly.
- Open the PSD in Preview.
- File → Export… → JPEG.
- Set Quality. Save to
deliverables/jpeg/with a new name. - Optional: Tools → Adjust Size… to display width before export.
Check at 100% zoom. Complex PSD files with unsupported features may look wrong in Preview. Flatten a copy in your design tool first when colors or fonts shift. Photos is not a reliable PSD reader.
Limitation: No folder batch of PSD files in one click.
Method 2: Flatten in your design app, then batch
Best for: Twenty comps that need a consistent flatten before conversion.
- In Photoshop, Affinity, or your editor, flatten or export visible layers to PNG or JPEG.
- Convert PNG folders with sips or FFmpeg when needed:
mkdir jpg-out
for f in flattened/*.png; do
 sips -s format jpeg -s formatOptions 85 "$f" --out "jpg-out/$(basename "${f%.png}").jpg"
done
Resize and convert:
sips -Z 1920 -s format jpeg -s formatOptions 85 hero.png --out hero-1920.jpgConvert CMYK comps to sRGB in the editor before web delivery.
Limitation: You own the editor export settings and any Terminal loops.
Method 3: Resize JPEG proofs in GetCompress
Best for: Fifty exported proofs that need the same width and quality before upload.
GetCompress does not read layered PSD files. Flatten first (Method 1 or 2), then:
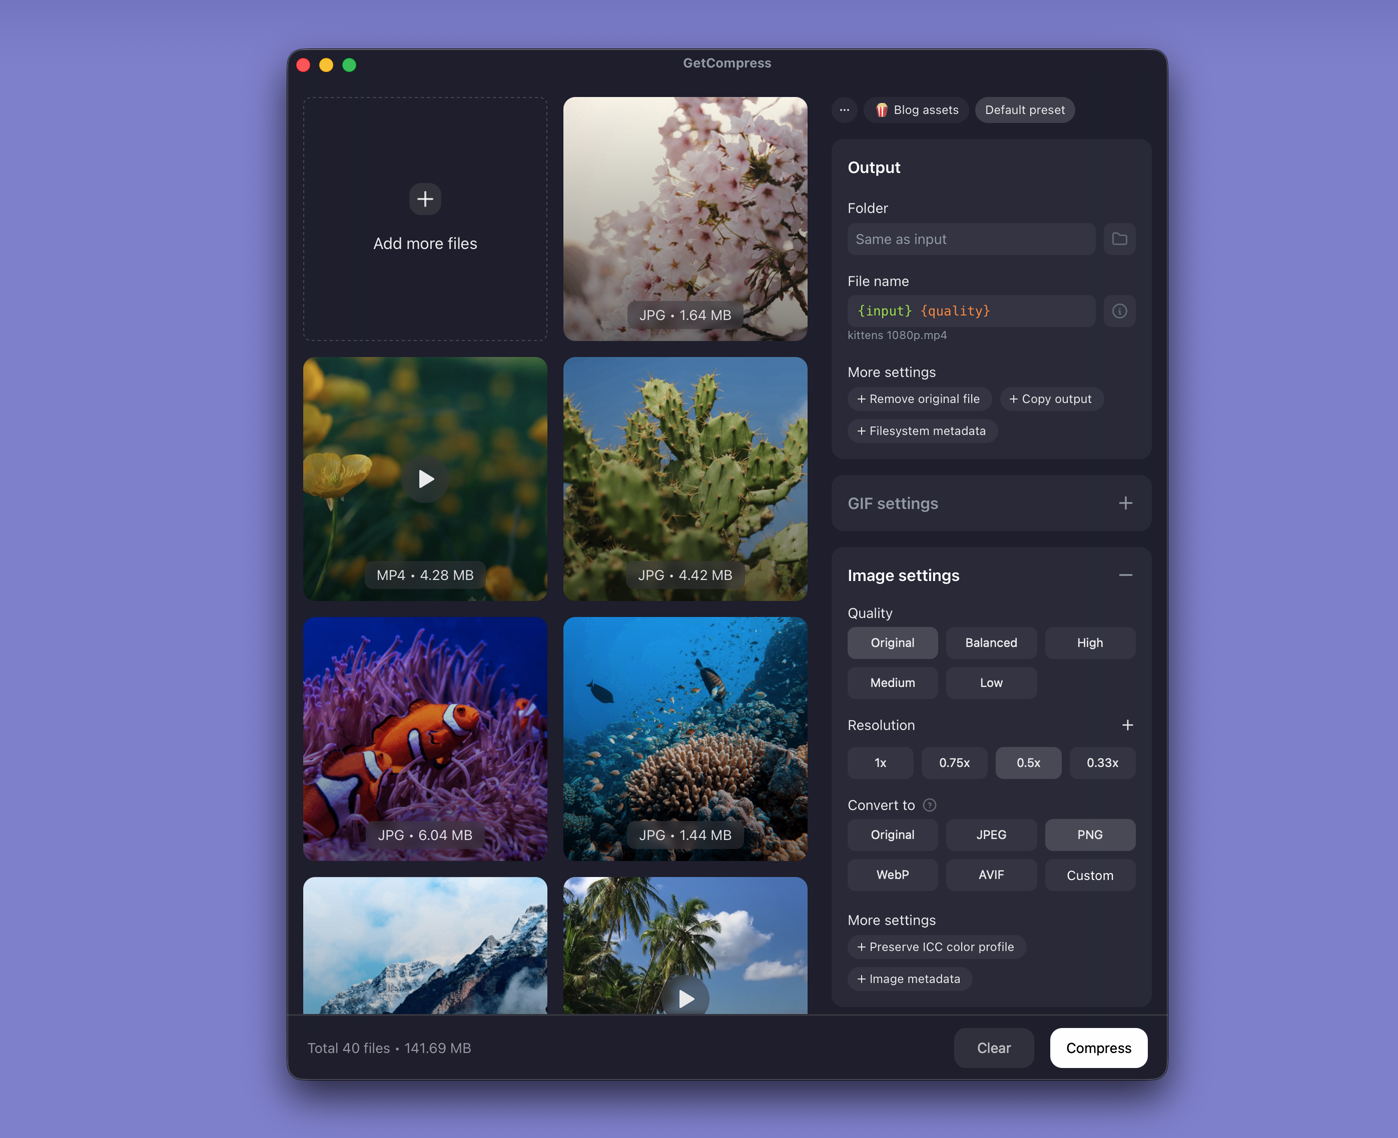
- Drop the exported JPEG folder into GetCompress .
- Set max width (often 1920 px) and quality (for example High or Medium).
- Preview small text, then export.
- Save a preset such as “client JPEG 1920 high”.
Image jobs use quality and dimensions, not an exact target file size.
Which method should you use
| Situation | Start here |
|---|---|
| One simple PSD | Preview |
| Complex layers / CMYK | Design app flatten, then batch |
| Many proofs, same delivery size | GetCompress |
More image cleanup: how to compress images on Mac .
Layer and color checks
| Issue | Fix |
|---|---|
| Wrong fonts | Open in design app, flatten, re-export |
| Huge JPEG | Resize to display width |
| Banding in gradients | Higher JPEG quality, or PNG first |
| CMYK colors look wrong on web | Convert to sRGB in the editor |
| Smart object mismatch | Flatten in the design app first |
Spot-check text smaller than 14 px on a standard monitor after export.
When Preview alone is enough
Preview can finish a single simple PSD that already looks correct flattened.
GetCompress fits when you often get a folder of JPEG proofs that need consistent delivery sizing. It does not replace Photoshop, Affinity, or Pixelmator for editing. Keep PSD masters on project storage; write JPEG deliverables elsewhere.
- Convert PNG to JPG on MacConvert PNG to JPG on Mac with GetCompress, Preview, or sips. Keep PNG when you need transparency; flatten first when you do not.
- How to Compress Images on MacCompress images on Mac with GetCompress, Preview, or sips. Resize JPG and PNG, convert HEIC, and keep sharp UI for email or web.
- Convert RAW to JPG on MacConvert RAW to JPG on Mac with Photos export, Preview for some DNG files, or your editor. Keep RAW masters; deliver JPEG copies.
- Convert PSD to JPG on WindowsExport PSD to JPEG on Windows from your design app, then convert flattened PNG with Paint or FFmpeg. Keep layered masters untouched.