Batch Resize Images on Mac: 3 Methods
Batch resize images on Mac with GetCompress, Preview, or sips. Scale dozens of PNG and JPEG files to a shared max width locally.
The shared project folder holds 48 PNG mockups at 2880 px wide. Opening each file in Preview to set the same width takes an hour you do not have. Batch resize images once with a fixed max edge, then compress or convert in a second pass if needed.
When batch resize pays off
| Signal | Batch approach |
|---|---|
| Same max width for every hero | One preset or sips loop |
| Mixed PNG and JPEG in one folder | Unified app or separate commands |
| Weekly design exports | Folder monitoring plus saved preset |
| One-off screenshot | Preview is enough |
Batch resize changes pixel dimensions only. It does not replace format choice. See how to compress images on Mac for JPEG vs PNG vs WebP after scaling.
Organize source folders
Copy sources into an originals subfolder before batch work. Never overwrite masters when a client asks for a larger revision next week.
- Create
originals/andout/beside your working folder. - Move or copy files to process into
originals/. - Run batch commands writing only to
out/. - Spot-check three files: one photo, one UI screenshot, one image with text.
Remove macOS .DS_Store and stray files from the batch directory when commands use wildcards. Sort portrait and landscape into subfolders if your max edges differ.
Method 1: GetCompress
Best for: Mixed image folders, reusable width presets, and people who do not write scripts running the same resize weekly.
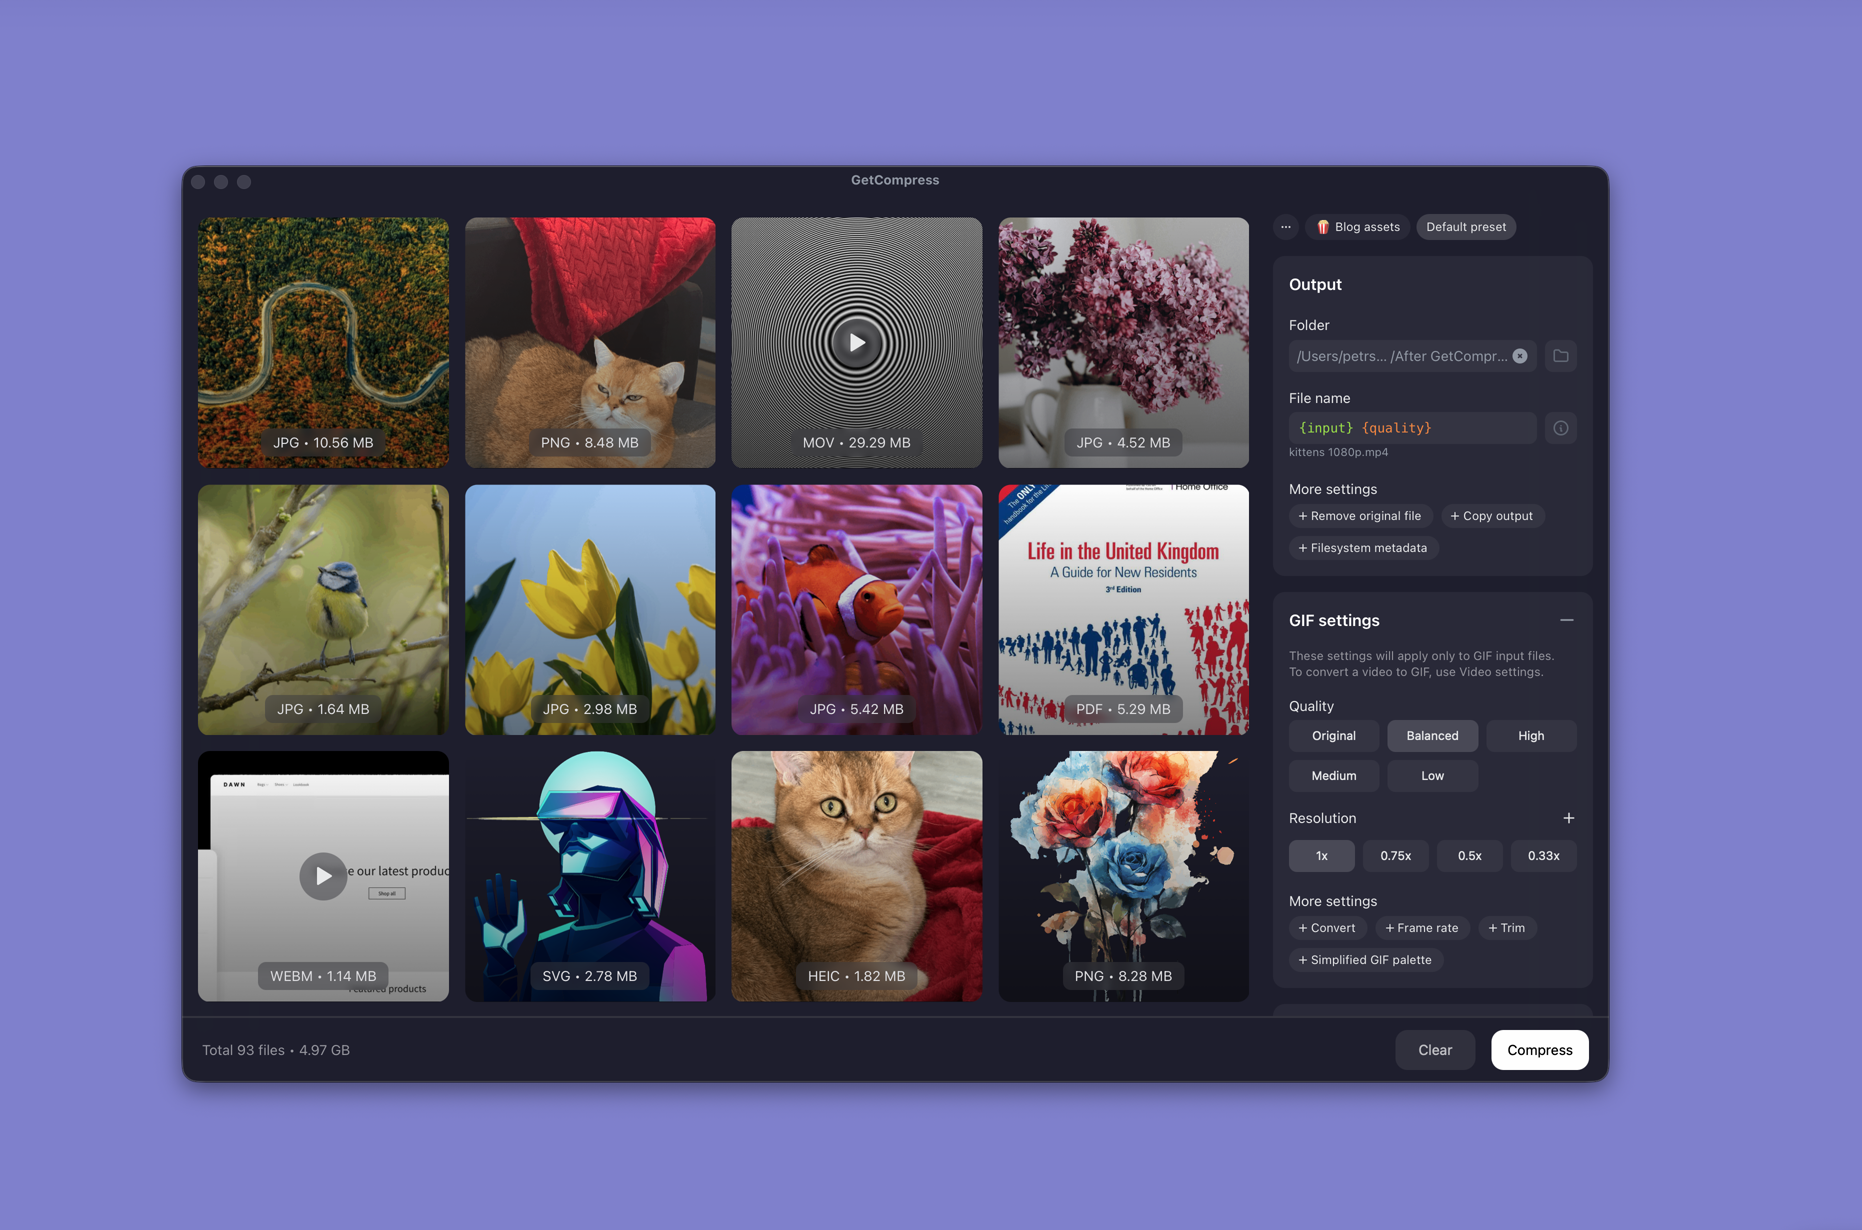
- Open GetCompress and drop the whole folder.
- Set max width, output format, and quality (for example High or Medium) in one panel.
- Save a preset (for example “web JPEG 1920 high”).
- Preview an edge case, then export to
out/. - Optional: enable folder monitoring when design tools write to a shared directory.
Exact target file size is video only. For images, control size with dimensions and quality. Processing stays on your Mac.
Method 2: sips in Terminal
Best for: Scriptable folder loops without a GUI.
Open Terminal, cd to originals, and scale every JPEG to max edge 1920 px:
mkdir ../out
for f in *.jpg; do sips -Z 1920 "$f" --out "../out/$f"; done
Batch PNG the same way:
for f in *.png; do sips -Z 1920 "$f" --out "../out/$f"; doneConvert HEIC to JPEG at width in one step:
for f in *.HEIC; do
 sips -Z 1920 -s format jpeg -s formatOptions 85 "$f" --out "../out/${f%.HEIC}.jpg"
done
sips is built in and fast. For pixel-width fundamentals, see resize image pixels on Mac .
Limitation: No preview or saved presets unless you wrap the commands yourself.
Method 3: Preview for one file
Best for: A single screenshot or hero when you do not need a folder loop.
- Open the image in Preview.
- Tools → Adjust Size…
- Set width or height, keep proportions, then save a copy.
Limitation: Painful for dozens of files with the same rule.
Quality after resize
| Asset type | Width hint |
|---|---|
| Blog hero | 1920 px max edge |
| Inline figure | 1200 to 1600 px |
| Email banner | 600 to 800 px |
Resize first, then tune lossy quality on JPEG exports. Avoid re-saving the same JPEG at lower quality repeatedly. Compare total folder size before and after in Finder Get Info.
Online batch resize services receive every file you upload. For NDA mockups, keep the folder on disk. See are online file compressors safe .
When a one-off resize is enough
Preview or a short sips loop can work when the job is one folder once and you are comfortable in Terminal.
GetCompress also helps when you send similar files often, formats mix (PNG, JPEG, HEIC, WebP), or people who do not write scripts need a named preset. Processing stays local. It does not replace sips in a minimal CI script. For the Windows workflow, see batch resize images on Windows .
- Resize Image Pixels on MacResize image pixels on Mac with GetCompress, Preview Adjust Size, or sips. Match export width to where images actually display.
- How to Compress Images on MacCompress images on Mac with GetCompress, Preview, or sips. Resize JPG and PNG, convert HEIC, and keep sharp UI for email or web.
- Batch Compress and Convert on MacBatch compress and convert on Mac with GetCompress, Shortcuts or Automator, or a Terminal script. Local presets for JPEG, MP4, and PDF folders.
- Batch Resize Images on WindowsBatch resize images on Windows with GetCompress, Photos, or FFmpeg. Scale dozens of PNG and JPEG files to a shared max width locally.