Convert CR2 to JPG on Windows: 3 Methods
Convert Canon CR2 to JPEG on Windows with Photos, Lightroom, or delivery sizing in GetCompress. Keep RAW masters; export JPG for clients.
Real estate and portrait workflows store Canon CR2 files for editing. Upload forms want JPEG. Converting CR2 to JPG on Windows means export from Photos, Lightroom, or Canon tools, then optional resize for MLS caps. Keep card copies read-only. Write JPEG to deliverables\jpeg\ only.
Keep the CR2 master
| File | Role |
|---|---|
| CR2 | Edit master and archive |
| JPEG | Client and portal delivery |
Never overwrite CR2. Never email CR2 unless requested. See RAW to JPG on Windows for cross-brand practice. For DNG, see DNG to JPG on Windows .
| Mistake | Why it hurts |
|---|---|
| Overwriting CR2 | Destroys edit latitude |
| Full-res JPEG to email | Bounce or client frustration |
| Skipping a zoom check | Soft proofs go live |
Method 1: Export JPEG from Photos
Best for: Windows 11 Photos when the CR2 opens cleanly (Canon codecs may be required).
- Open CR2 files in Photos.
- Select images, then export or Save as when available.
- Save JPEG to
deliverables\jpeg\at high quality.
| Target | Max width hint |
|---|---|
| Email proof | 2048 px |
| MLS | ~3000 px (check portal) |
| Web | 1920 to 2400 px |
Photos defaults to sRGB JPEG, which matches most portal requirements. Compare three random exports at 100% zoom before you upload the full set.
Limitation: Blank preview usually means install a Canon codec or switch to Lightroom. Batch from a card copy often flows faster through Lightroom than importing hundreds of CR2 into Photos only to export.
Method 2: Lightroom or Canon software
Best for: Every CR2 variant and repeatable client recipes.
- Import CR2 with your edit preset in Lightroom or Canon Digital Photo Professional.
- Export → JPEG, quality 80 to 95.
- Set long edge per portal rules.
| Setting | Typical value |
|---|---|
| Color space | sRGB for web and MLS |
| Quality | 85 to 90 |
| Long edge | Portal max width |
| Sharpening | Screen for web, print for vendor |
Optionally resize after export with FFmpeg (install with winget if needed):
winget install --id Gyan.FFmpeg -e
mkdir web
Get-ChildItem deliverables\*.jpg | ForEach-Object {
 ffmpeg -i $_.FullName -vf scale=3000:-2 -q:v 3 "web\$($_.BaseName)-3000.jpg"
}
Limitation: Paint is not a RAW tool. Use Photos or Lightroom for CR2, Paint only for cropping a finished JPEG if needed.
Method 3: Size JPEG deliverables in GetCompress
Best for: After JPEG exists, when an MLS or gallery set needs one shared max width and quality.
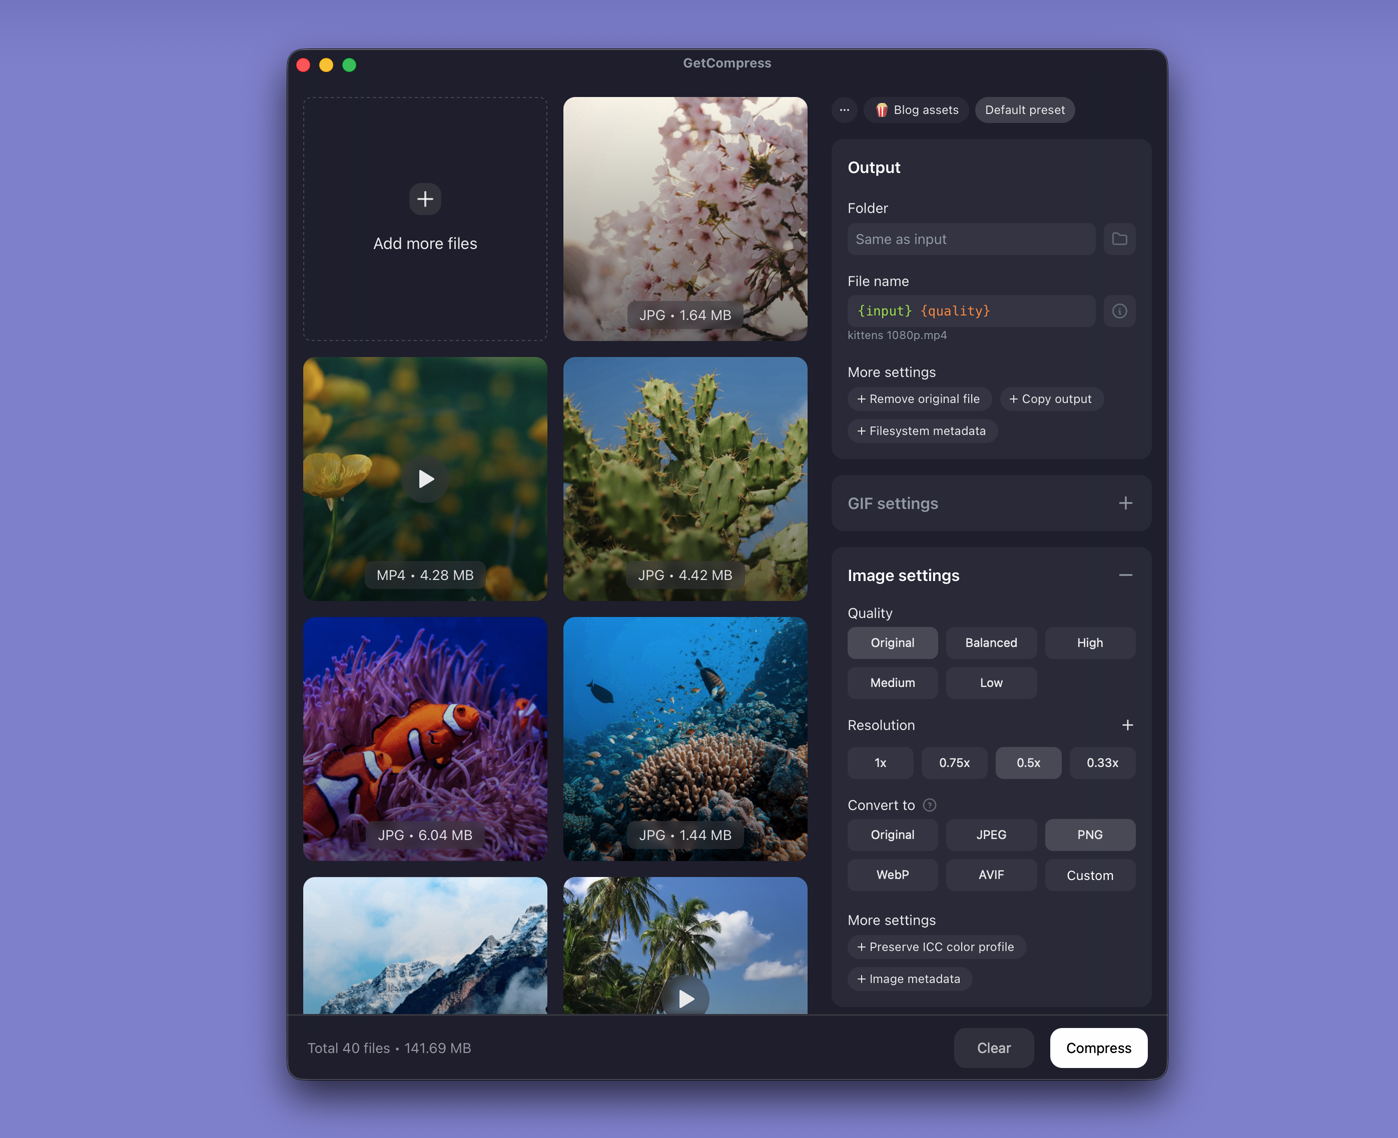
- Export JPEG from Photos or Lightroom first.
- Drop the deliverables folder into GetCompress .
- Set max width and a quality level (for example High or Medium) to match the portal.
- Export a sized copy; keep masters untouched.
Processing stays on your PC. Save presets per client so second shooters match width and quality without asking each job.
Limitation: GetCompress does not develop CR2. It sizes and compresses JPEG deliverables after demosaic.
Which method should you use
| Situation | Start here |
|---|---|
| Photos opens the CR2 cleanly | Photos export |
| Proprietary CR2 or client recipes | Lightroom or Canon software |
| Same width across many exported JPEG proofs | GetCompress after export |
When Photos export is enough
Photos (or Lightroom) can work when one export already matches portal width and quality.
GetCompress also helps when the proof folder still needs a consistent max width, quality preset, or local batch after export. It does not replace Lightroom. For sizing rules after export, see how to compress images on Windows . For Mac, see CR2 to JPG on Mac .
- Convert RAW to JPG on WindowsConvert RAW to JPG on Windows with Photos, Lightroom, or camera software. Keep RAW masters; deliver JPEG for clients and portals.
- Convert DNG to JPG on WindowsConvert DNG to JPEG on Windows with Photos, Lightroom, or delivery sizing in GetCompress. Keep RAW masters; export JPG for clients.
- How to Compress Images on WindowsCompress images on Windows with GetCompress, Photos, or FFmpeg. Resize JPG and PNG, convert WebP, and keep sharp UI for email or web.
- Convert CR2 to JPG on MacConvert Canon CR2 to JPEG on Mac with Photos, Lightroom, or delivery sizing in GetCompress. Keep RAW masters; export JPG for clients and MLS.