Convert DNG to JPG on Mac: 3 Methods
Convert DNG to JPEG on Mac with Photos, Preview for single files, or delivery sizing in GetCompress. Keep RAW masters.
DNG is Adobe’s portable RAW container. iPhone ProRAW, Lightroom exports, and some camera bodies produce DNG. Clients still want JPEG. Keep DNG masters for editing and export JPEG deliverables at portal width. Local export keeps unreleased product and portrait work off online converters.
Keep the DNG master
| File | Role |
|---|---|
| DNG | Edit master and archive |
| JPEG | Client, web, MLS, email |
Export JPEG to deliverables/jpeg/. Never overwrite DNG. See RAW to JPG on Mac . Canon shooters: CR2 to JPG on Mac .
| Mistake | Why it hurts |
|---|---|
| Overwriting DNG | Destroys edit latitude |
| Full-res JPEG to email | Use a width cap first |
| Skipping a zoom check | Soft proofs go live |
Drone and phone ProRAW DNG files are often larger than DSLR DNG exports. Set export width per job type, not one preset for every shoot.
Method 1: Export JPEG from Photos
Best for: Batches already in your Photos library.
- Import DNG into Photos or select existing items.
- Edit exposure and crop in Photos or an external editor.
- File → Export → Export N Photos.
- Format JPEG, quality per client spec.
- Save into
deliverables/jpeg/.
| Target | Quality | Width hint |
|---|---|---|
| Email proof | High | 2048 px after export |
| MLS | High | Portal max (often ~3000 px) |
| Web | Medium-High | 1920 to 2400 px |
Photos exports sRGB JPEG by default. Large DNG batches from disk outside Photos often export faster from Lightroom with a saved preset. Compare three random frames at 100% zoom before uploading the full set.
Limitation: Slow for huge folders you never imported. Exposure choices in Photos may clip highlights differently than Lightroom for the same DNG.
Method 2: Preview for a single DNG
Best for: One DNG when you do not need batch or edit history.
- Open DNG in Preview.
- File → Export… → JPEG.
- Set quality and save a new filename.
Limitation: Not reliable for every camera DNG. Multi-layer or huge ProRAW files may fail or look flat. Prefer Photos or Lightroom for forty frames.
Method 3: Size JPEG deliverables in GetCompress
Best for: After JPEG exists, when a proof folder needs one shared max width and quality.
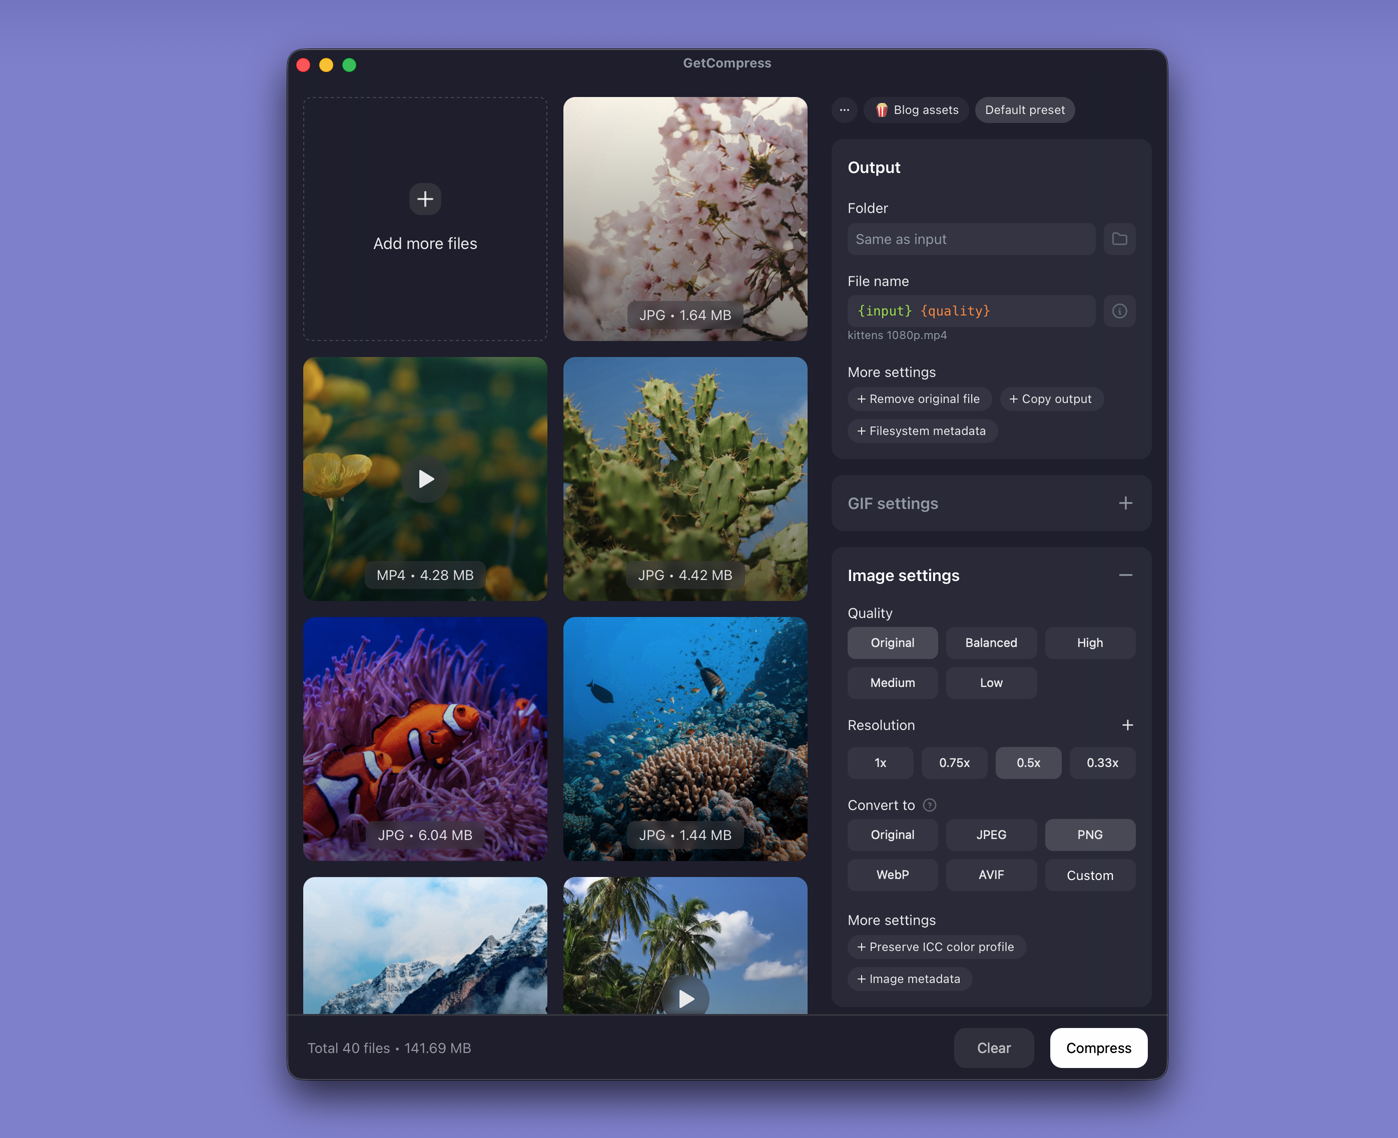
- Export JPEG from Photos, Preview, or Lightroom first.
- Drop the deliverables folder into GetCompress .
- Set max width and a quality level (for example High or Medium) to match the portal.
- Export a sized copy; keep masters untouched.
Optionally resize with sips if you prefer Terminal:
mkdir web
for f in deliverables/*.jpg; do sips -Z 3000 "$f" --out "web/$(basename "$f")"; done
Limitation: GetCompress does not develop DNG. It sizes and compresses JPEG deliverables after demosaic. FFmpeg likewise does not replace RAW development.
Which method should you use
| Situation | Start here |
|---|---|
| Library already in Photos | Photos export |
| One DNG | Preview |
| Same width across many exported JPEG proofs | GetCompress after export |
When Photos export is enough
Photos (or Lightroom) can work when one export already matches portal width and quality.
GetCompress also helps when the proof folder still needs a consistent max width, quality preset, or local batch after export. It does not replace Lightroom. For sizing rules after export, see how to compress images on Mac . For Windows, see DNG to JPG on Windows .
- Convert RAW to JPG on MacConvert RAW to JPG on Mac with Photos export, Preview for some DNG files, or your editor. Keep RAW masters; deliver JPEG copies.
- Convert CR2 to JPG on MacConvert Canon CR2 to JPEG on Mac with Photos, Lightroom, or delivery sizing in GetCompress. Keep RAW masters; export JPG for clients and MLS.
- How to Compress Images on MacCompress images on Mac with GetCompress, Preview, or sips. Resize JPG and PNG, convert HEIC, and keep sharp UI for email or web.
- Convert DNG to JPG on WindowsConvert DNG to JPEG on Windows with Photos, Lightroom, or delivery sizing in GetCompress. Keep RAW masters; export JPG for clients.