Convert NEF to JPG on Windows: 3 Methods
Convert Nikon NEF to JPEG on Windows with Photos, Lightroom, or GetCompress for delivery sizing. Keep NEF masters; export JPG for clients and MLS.
Nikon NEF stays the edit master. Clients and listing sites want JPEG. Develop locally, never overwrite NEF on the card backup, and write JPEG deliverables to a separate folder. Wedding and event shoots often hold hundreds of NEF files; plan read-only ingest and a writable deliverables\jpeg\ folder before you batch.
Keep the NEF master
| File | Role |
|---|---|
| NEF | Edit master |
| JPEG | Delivery |
| Mistake | Why it hurts |
|---|---|
| Overwriting NEF | Destroys edit latitude |
| Full-res JPEG by email | Bounce or frustrated clients |
| Mixing phone JPEG into NEF ingest | Wrong sizes and color assumptions |
See RAW to JPG on Windows . Related: CR2 to JPG on Windows . Paint does not open NEF. Use Photos or a RAW editor.
Method 1: Export JPEG from Photos
Best for: Smaller sets when Photos preview loads cleanly.
- Open NEF in Photos when preview loads.
- Export JPEG at high quality to deliverables.
- Install a Nikon codec if Photos shows a blank preview. Use Lightroom when codec install is not an option.
| Target | Width hint |
|---|---|
| Email proof | 2048 px |
| MLS | Often 3000 px (check rules) |
| Web | 1920 to 2400 px |
Photos defaults to sRGB JPEG, which matches most portal requirements. Compare three random exports at 100% zoom before you upload the full set.
Limitation: Importing hundreds of files from D:\Jobs\ClientA\raw\ only to export JPEG is often slower than Lightroom.
Method 2: Lightroom or Capture One
Best for: Folder-based wedding and event shoots.
- Import NEF with a sync preset.
- Export → JPEG, quality 80 to 95.
- Set long edge in the preset.
- Write output to
deliverables\jpeg\.
| Setting | Typical value |
|---|---|
| Color space | sRGB for web and MLS |
| Quality | 85 to 90 |
| Long edge | Portal max width |
| Sharpening | Screen for web |
Save export presets per client so second shooters match the deliverable without asking for settings each job. Keep second-shooter NEF in a separate ingest folder until color presets match the lead shooter.
Limitation: You still need a second pass when portals reject full-res JPEG on megabyte caps.
Method 3: Size deliverables in GetCompress
Best for: Consistent width and quality across a finished JPEG folder after RAW export.
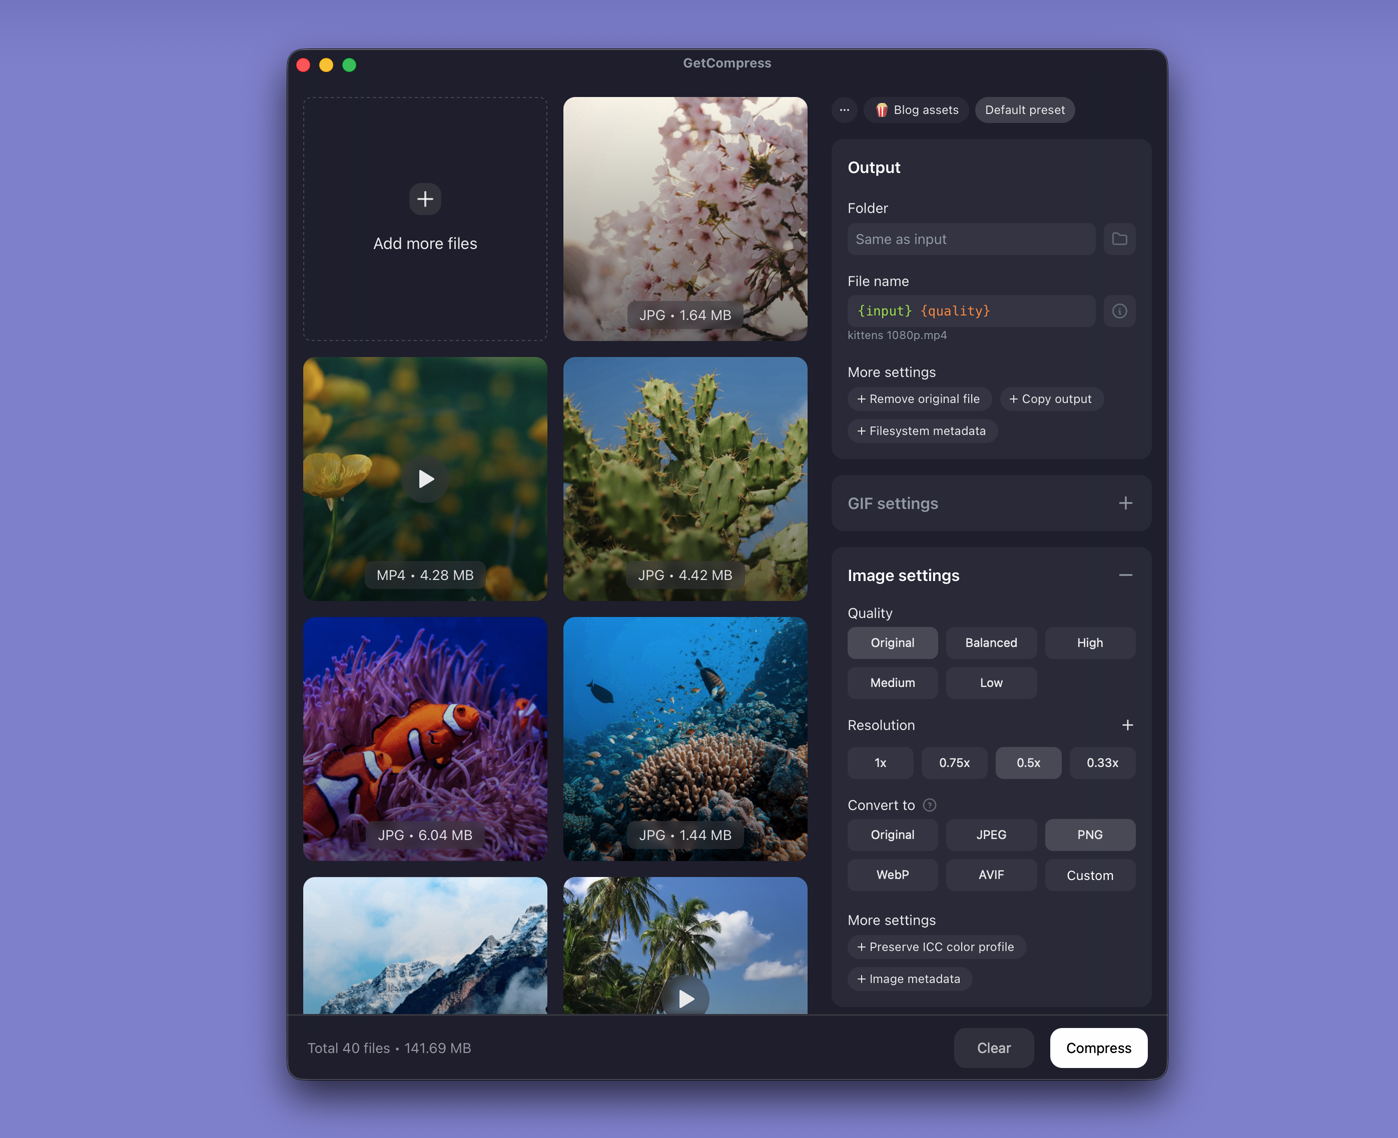
- Export JPEG from Photos or Lightroom first. GetCompress is not a NEF demosaicer.
- Drop the JPEG deliverables folder into GetCompress .
- Set long edge and quality for MLS, web, or email.
- Export sized copies. Keep full-res JPEG masters if you may need them later.
Processing stays on your PC. Save presets per portal so the next shoot matches. For more on JPEG size after export, see how to compress images on Windows .
You can also resize with FFmpeg after export:
winget install --id Gyan.FFmpeg -e
mkdir web
Get-ChildItem deliverables\*.jpg | ForEach-Object {
 ffmpeg -i $_.FullName -vf scale=3000:-2 -q:v 3 "web\$($_.BaseName)-3000.jpg"
}
Which method should you use
| Situation | Start here |
|---|---|
| Small set with working Photos preview | Photos export |
| Card folder with synced edits | Lightroom or Capture One |
| Portal width and quality across the shoot | GetCompress after JPEG export |
When a simpler export is enough
If Photos or Lightroom exports JPEG that the client accepts at the stated width, stop there.
GetCompress fits when every gallery needs the same long edge and quality, when second-shooter JPEG joins the same queue, or when a portal rejects the first upload and you want to tweak one preset instead of re-exporting from NEF. Keep ingest read-only. Never mix phone JPEG sidecars into NEF batch scripts.
- Convert RAW to JPG on WindowsConvert RAW to JPG on Windows with Photos, Lightroom, or camera software. Keep RAW masters; deliver JPEG for clients and portals.
- Convert CR2 to JPG on WindowsConvert Canon CR2 to JPEG on Windows with Photos, Lightroom, or delivery sizing in GetCompress. Keep RAW masters; export JPG for clients.
- How to Compress Images on WindowsCompress images on Windows with GetCompress, Photos, or FFmpeg. Resize JPG and PNG, convert WebP, and keep sharp UI for email or web.
- Convert NEF to JPG on MacConvert Nikon NEF to JPEG on Mac with Photos, a RAW editor, or GetCompress for delivery sizing. Keep NEF masters; export JPG for clients and MLS.