Batch Video Compression on Mac: 3 Methods
Batch compress video on Mac with GetCompress, QuickTime, or FFmpeg. Queue MOV and MP4 files with presets and target file size.
Friday QA export folder: twelve MOV screen captures, each over 400 MB. Slack rejects the zip. The ticket system caps attachments at 20 MB. You could open QuickTime twelve times, but the settings drift by clip three.
Batch video compression on Mac is worth it when resolution, codec, and output folder stay the same while file counts climb. One random clip once a month? Trim in QuickTime and move on. Twenty clips often? Queue them.
When batch video compression makes sense
| Signal | Example |
|---|---|
| Same settings often | Screen recording folder |
| Many files at once | Event multicam exports |
| Upload cap every send | Email or portal limit |
| Mixed sources, one delivery spec | MOV + MP4 to Slack MP4 720p |
If the pain is occasional email bounces, read the email attachment size limits guide first. Write down max width, codec, audio bitrate, and output path before you lock a preset.
Common workflows:
| Workflow | Input | Output |
|---|---|---|
| Bug clips | MOV screen capture | MP4 720p under 20 MB |
| Client review | MP4 4K export | MP4 1080p |
| Archive share | MKV rip | MP4 H.264 |
Trim dead air and check text legibility on one representative clip before you run the full folder. Sensitive client work should stay local; see the GetCompress privacy guide .
Method 1: GetCompress
Best for: Folder queues, reusable presets, megabyte caps, and watch folders for screen recordings.
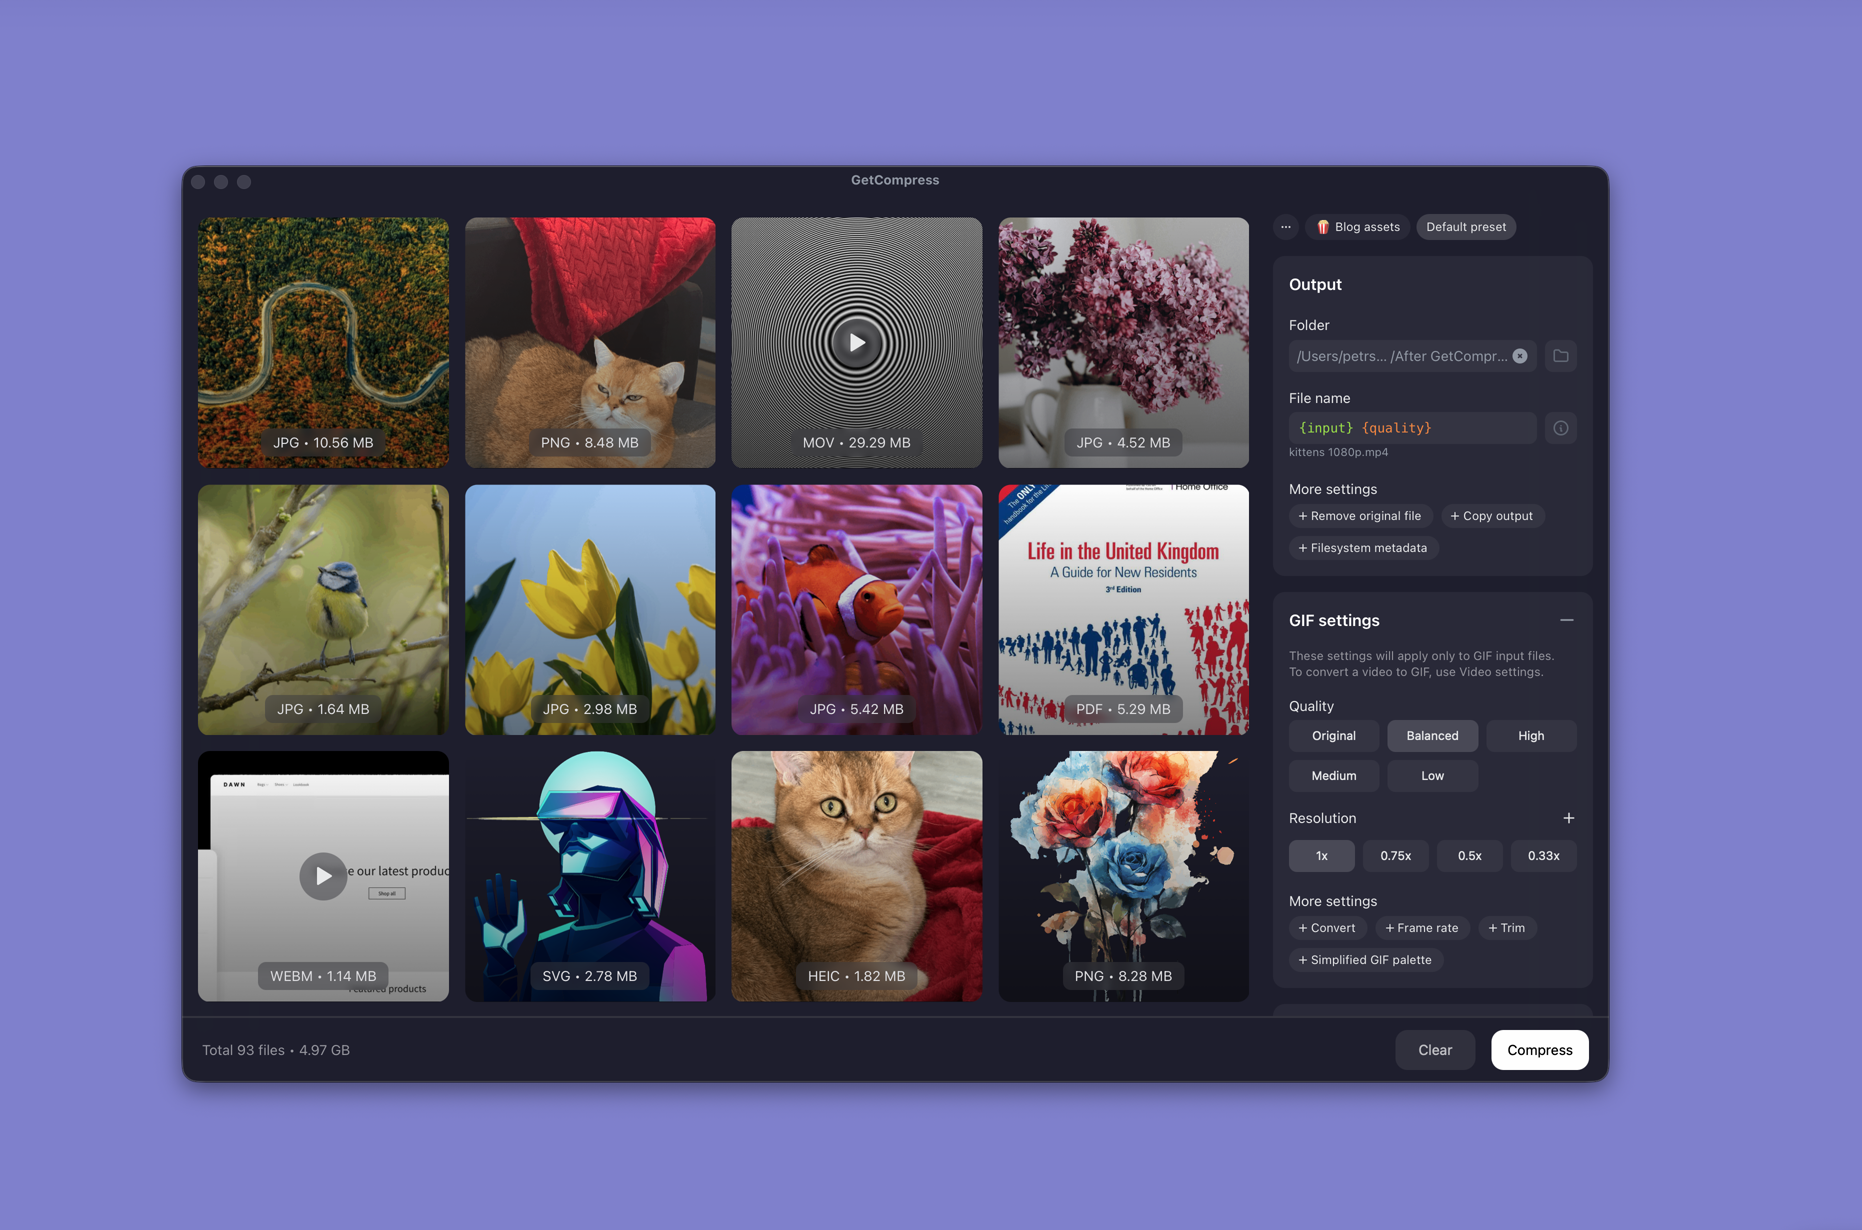
- Open GetCompress and drop the folder of MOV or MP4 files.
- Trim start and end in the preview on clips with dead air.
- Pick a quality level (Original, High, Medium, Balanced, or Low) and resolution, or set an exact target file size when the form lists a megabyte limit (video only).
- Save a preset (Slack MP4, email MP4, archive MP4).
- Export, then optional: enable folder monitoring on
~/Movies/Capturesfor the next time you do a similar task.
Processing stays on your Mac. Preview one talking-head clip and one screen recording; a preset that works on one may mush UI text on the other.
Method 2: QuickTime
Best for: One or two clips when you do not need a queue.
- Open the video in QuickTime Player.
- Edit → Trim (⌘T).
- File → Export As… → 1080p or 720p.
Limitation: No folder queue, no typed megabyte target. Settings drift when you repeat the same export twelve times by hand.
Method 3: FFmpeg in Terminal
Best for: Folder loops and CRF-style control when someone maintains the script.
mkdir ~/Exports/out
for f in ~/Exports/in/*.mov; do
 ffmpeg -i "$f" -vf scale=-2:1080 -c:v libx264 -crf 23 \
 -c:a aac -b:a 128k ~/Exports/out/"$(basename "${f%.mov}.mp4")"
done
Install FFmpeg through Homebrew if needed. Document input folder, output folder, and codec flags in your team README.
Limitation: No preview, trim UI, or target file size unless you write that logic yourself.
Target file size for upload limits
| Destination | Practical target |
|---|---|
| Under 20 MB per attachment | |
| Slack | Often generous, but huge files lag in preview |
| Ticket attachment | Often 10 to 25 MB |
| Client portal | Read the form |
Target file size encodes until the output lands near your cap instead of guessing CRF per clip. Pair it with 720p or 1080p so text stays readable. When a portal rejects a batch, sort by size in Finder and re-run only the outliers.
Which method should you use
| Situation | Start here |
|---|---|
| Many clips, MB cap, or watch folder | GetCompress |
| One or two QuickTime clips | QuickTime |
| Existing Terminal scripts | FFmpeg |
For broader mixed-media automation, see batch compress and convert on Mac .
When a single export is enough
QuickTime is enough for one file when a trim and a 720p or 1080p export land under the limit.
GetCompress also helps when the same folders fill up often, presets need shared names, or you must hit an exact video target file size. Processing stays local. It does not replace Final Cut or Premiere. For the Windows workflow, see batch video compression on Windows .
- How to Compress Video on MacCompress video on Mac with GetCompress, QuickTime, or FFmpeg. Trim first, pick 720p or 1080p, and hit email or upload size limits without guessing.
- Video quality on MacKeep a sharp review copy on Mac: trim first, downscale 4K to 1080p, use sensible CRF or presets, and check UI text before you send.
- Batch Compress and Convert on MacBatch compress and convert on Mac with GetCompress, Shortcuts or Automator, or a Terminal script. Local presets for JPEG, MP4, and PDF folders.
- Batch Video Compression on WindowsBatch compress video on Windows with GetCompress, Clipchamp, or FFmpeg. Queue MOV and MP4 files with presets and target file size.