Compress JPG on Mac: 3 Methods
Compress JPG on Mac with GetCompress, Preview, or sips. Resize first, then lower quality for email and upload limits without heavy artifacts.
The client portal accepts five images and 15 MB total. Your five iPhone JPEG files add up to 38 MB because each photo is 4032 px wide at quality 95. The form counts bytes, not megapixels. You need smaller pixel dimensions, a modest quality reduction, or both. Keep the master untouched.
Three solid routes cover most Mac jobs: GetCompress for recurring batches and presets, Preview for one or a few files, and sips when you already work in Terminal.
Method 1: GetCompress
Best for: A folder of JPEG photos (often mixed with PNG or HEIC) when you want the same width and quality every week.
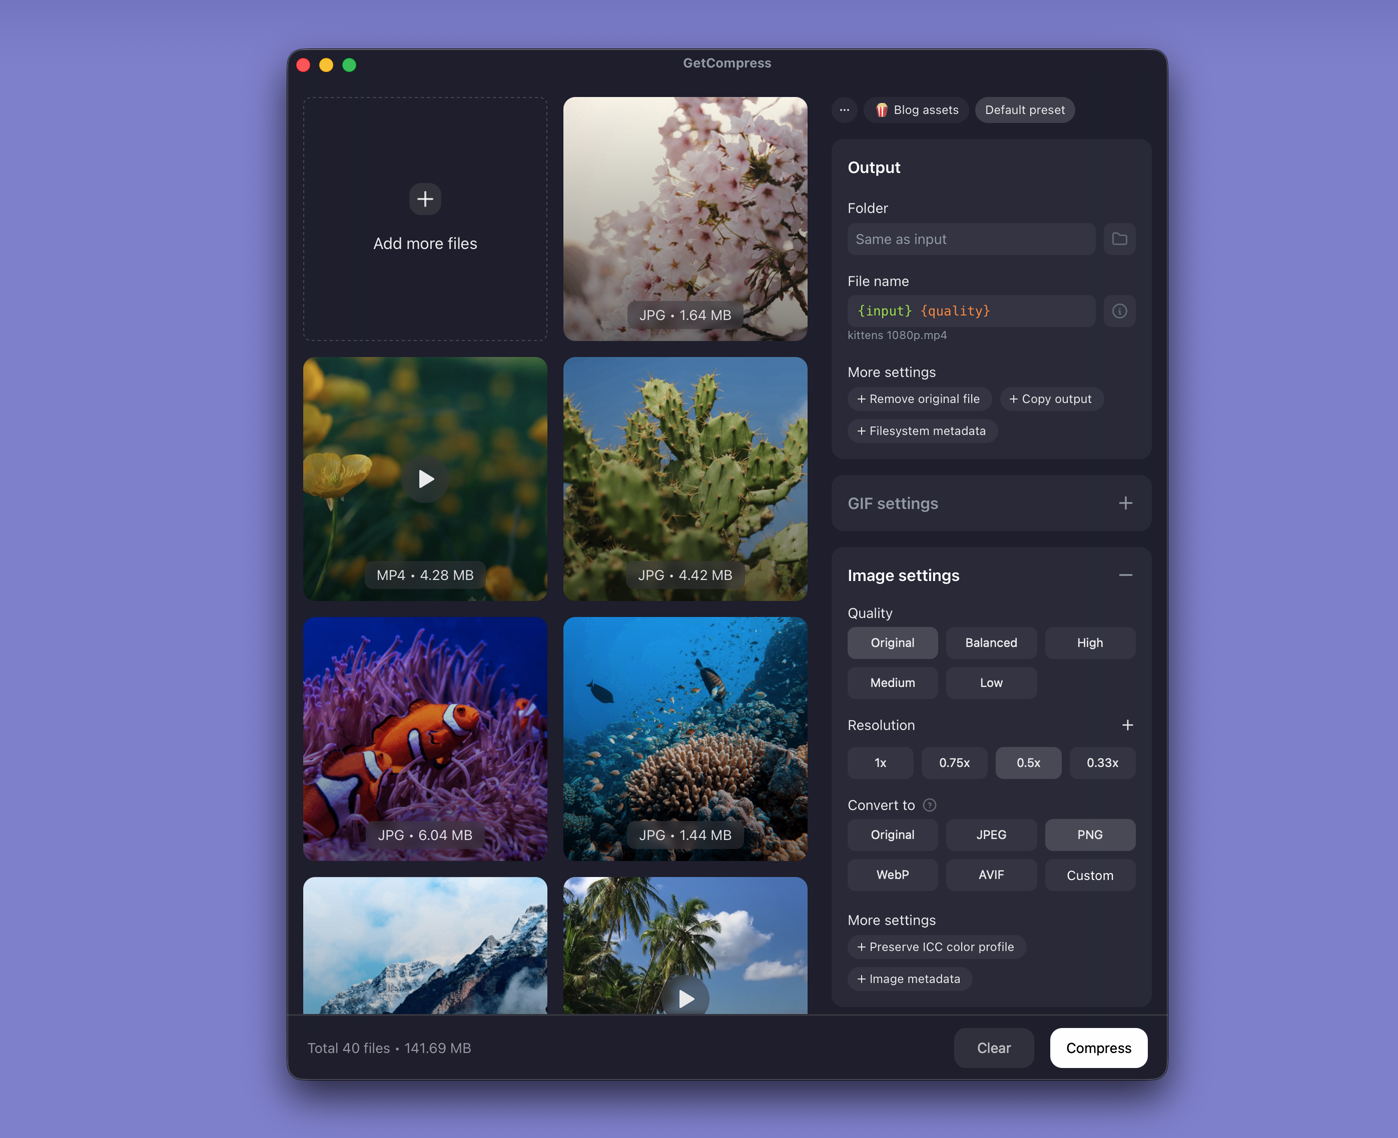
- Open GetCompress and drop one JPEG or a folder into the queue.
- Set max width (for example 1920 px) and quality (for example High).
- Preview faces and product edges if the shot must stay clean.
- Export, then upload the copies.
Processing stays on your Mac. Save a preset such as “web JPEG 1920 high”. Convert HEIC or PNG to JPEG in the same pass when the destination format is fixed. Exact target file size applies to video only, not images.
Method 2: Compress in Preview
Best for: One or a few JPEG files with no need for a saved preset.
- Open the JPEG in Preview.
- Tools → Adjust Size… and set width in pixels.
- File → Export… as JPEG and move the quality slider down slightly.
- Save as a new file and check size in Finder.
Zoom on faces, product edges, and text overlays. If blocky artifacts appear, raise quality one step or keep more width. Photos can export camera rolls (File → Export → Export N Photos), but it is slow for thirty product shots with identical settings.
Limitation: No reusable preset across mixed folders.
Method 3: Batch with sips in Terminal
Best for: A folder that shares one target width and quality.
mkdir optimized
for f in *.jpg; do sips -Z 1920 -s formatOptions 85 "$f" --out "optimized/$f"; done
Convert HEIC before batch when recipients expect JPEG:
sips -s format jpeg -s formatOptions 85 photo.heic --out photo.jpgLimitation: sips does not remember presets. Mixed PNG and JPEG folders still need separate commands or a dedicated app.
Which method should you use
| Situation | Start here |
|---|---|
| Recurring portal uploads, mixed formats, or presets | GetCompress |
| One or two photos | Preview |
| Simple same-width Terminal batch | sips |
Broader format advice: how to compress images on Mac . Phone HEIC sources: HEIC to JPG on Mac . Online compressors see your photos when you upload; for NDA shots keep processing on disk ( are online file compressors safe ).
Quality, dimensions, and generational loss
Sliding quality alone on a 4000 px JPEG rarely fixes upload rejection. Resize first, then tune quality.
| Display context | Starting width | Quality hint |
|---|---|---|
| Blog hero | 1600 to 1920 px | 80 to 85 |
| Email inline | 600 to 800 px | 75 to 85 |
| Thumbnail in deck | 1280 px | 80 to 90 |
| Full-screen review | Keep higher width | 85 to 92 |
Each re-save of a JPEG at lower quality adds artifacts. Work from the largest master you still have, resize once, export once, and archive the result. If you only have a heavily crushed JPEG, avoid another aggressive pass. Ask for the original when quality matters. Read lossy vs lossless compression before you re-save the same file ten times.
Compare one representative photo with the image comparison tool .
When Preview or sips is enough
Preview can finish one file. sips can work when the folder is uniform and you already use Terminal.
GetCompress also works well for that job. It also covers the same width and quality return often, when HEIC and JPEG arrive together, or when folder monitoring should compress new camera imports automatically. It does not replace Photos for cataloguing or Lightroom for retouch. Store delivery JPEGs apart from camera originals so editors do not re-compress the wrong copy.
- How to Compress Images on MacCompress images on Mac with GetCompress, Preview, or sips. Resize JPG and PNG, convert HEIC, and keep sharp UI for email or web.
- Convert HEIC to JPG on MacConvert HEIC to JPG on Mac with GetCompress, Photos, or sips in Terminal. Batch HEIC to JPEG for MLS, email, and uploads without uploading iPhone photos.
- Convert PNG to JPG on MacConvert PNG to JPG on Mac with GetCompress, Preview, or sips. Keep PNG when you need transparency; flatten first when you do not.
- Compress JPG on WindowsCompress JPG on Windows with GetCompress, Photos or Paint, or FFmpeg. Resize first, then lower quality for email and upload limits without heavy artifacts.