Convert HEIC to PNG on Mac: 3 Methods
Convert HEIC to PNG on Mac with GetCompress, Preview, or sips for retouch workflows. Send clients JPEG unless they asked for PNG.
You need PNG in Photoshop for masks and retouching, not another lossy JPEG save. iPhone HEIC files are efficient on device but wrong for editors that expect PNG. Expect large files: that is normal for phone resolution without another lossy step. Converting locally keeps client work on your Mac.
When PNG instead of JPEG
| Goal | Format |
|---|---|
| Email, MLS, Shopify | JPEG (see HEIC to JPG on Mac ) |
| Retouch, masks, compositing | PNG |
| Archival edit master | RAW or DNG, not HEIC |
| PNG | JPEG | |
|---|---|---|
| Lossless | Yes | No |
| Typical phone export size | Large (often 15 to 30 MB) | Smaller |
| Client delivery | Usually the wrong choice | Default |
Portrait workflows often convert ten HEIC selects to PNG while the rest of the shoot goes to JPEG for the client gallery. Split folders before batch so delivery presets do not mix formats.
Method 1: GetCompress
Best for: Batch selects with optional max width so sync tools do not choke on full phone resolution.
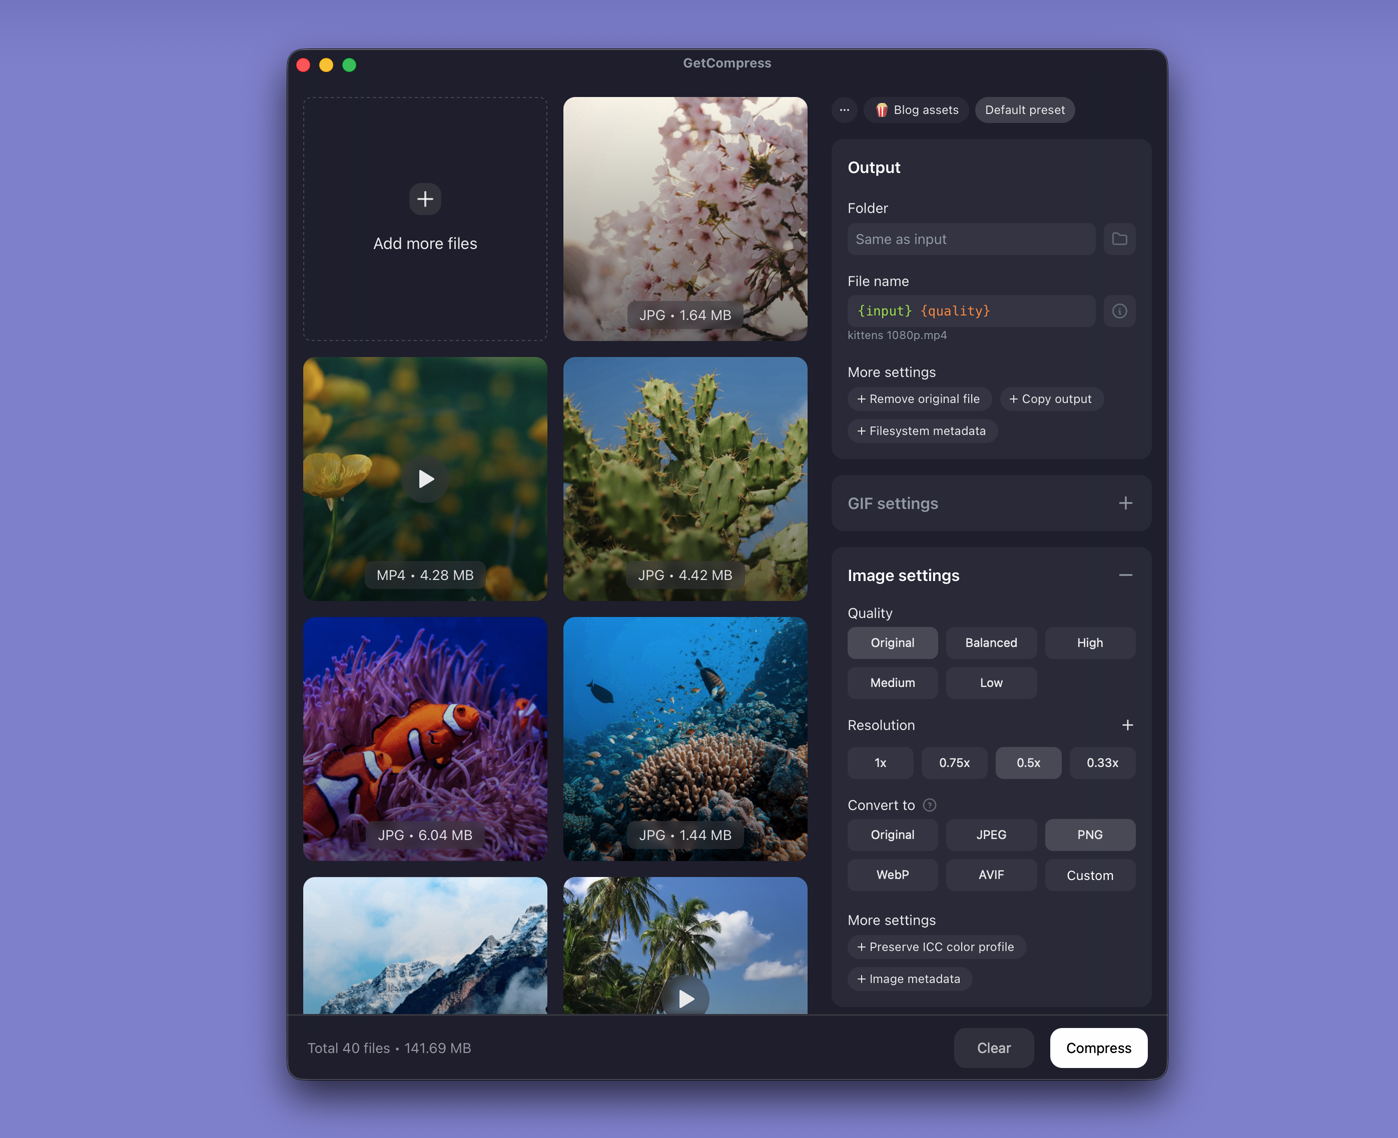
- Drop HEIC selects into GetCompress .
- Set output to PNG.
- Optionally cap max width (for example 4096 px) when the retouch team does not need full phone resolution.
- Export; keep originals untouched.
Save two presets: one for PNG retouch, another for client JPEG proofs so the same shoot moves cleanly after editing.
Method 2: Export from Photos or Preview
Best for: A handful of selects.
Preview:
- Open HEIC in Preview.
- File → Export… → PNG.
Photos: use File → Export when PNG appears as a format option. Prefer a direct HEIC to PNG path over a JPEG round-trip through Preview.
Limitation: One file at a time in Preview. For a full shoot folder, use Method 1 or 3. Open one PNG at 100% zoom before batching many files.
Method 3: Terminal conversion with sips
Best for: Scripts and folder loops.
sips -s format png IMG.heic --out IMG.pngBatch:
mkdir png-out
for f in *.heic *.HEIC; do
 [ -f "$f" ] || continue
 sips -s format png "$f" --out "png-out/${f%.*}.png"
done
Optional lossless squeeze with oxipng after you confirm the export looks correct:
brew install oxipng
oxipng -o 4 --strip safe IMG.png
FFmpeg path when sips fails on an odd HEIC:
ffmpeg -i IMG.heic IMG.pngLimitation: You maintain the loops yourself. PNG sync to Dropbox or Frame.io can choke on hundreds of large files; cap max width when possible.
Which method should you use
| Situation | Start here |
|---|---|
| Batch selects, dual PNG/JPEG presets | GetCompress |
| A few files | Preview or Photos |
| Scripts / CI | sips or FFmpeg |
When Preview alone is enough
Preview is enough for one or two selects when you do not need width caps or a reusable preset.
GetCompress also helps when Friday shoots move from retouch PNG to client JPEG with saved presets, when you need local batch conversion, or when sync tools force a max width. After compositing, export client proofs as JPEG rather than emailing PNG selects. See HEIC to JPG on Mac for the delivery path.
- Convert HEIC to JPG on MacConvert HEIC to JPG on Mac with GetCompress, Photos, or sips in Terminal. Batch HEIC to JPEG for MLS, email, and uploads without uploading iPhone photos.
- Batch Convert HEIC on MacBatch convert HEIC to JPG on Mac with GetCompress, Photos, or Terminal sips. Real estate and event photo workflows.
- How to Compress Images on MacCompress images on Mac with GetCompress, Preview, or sips. Resize JPG and PNG, convert HEIC, and keep sharp UI for email or web.
- For photographersCreate JPEG, PNG, HEIC, TIFF, and WebP delivery files for galleries, proofs, downloads, and social posts while protecting color and useful detail.