Batch Convert HEIC on Mac: 3 Methods
Batch convert HEIC to JPG on Mac with GetCompress, Photos, or Terminal sips. Real estate and event photo workflows.
Two hundred HEIC files land in a Finder folder from an iPhone shoot. Photos export one album at a time gets old fast. Real estate, events, and product photography often need JPEG at consistent width before MLS, Shopify, or client galleries accept the batch.
You might also get mixed extensions, Live Photo pairs, and duplicate filenames from multiple photographers on one listing. Batch conversion locally beats uploading the camera roll to a converter site and keeps unreleased listing photos on your Mac.
Method 1: GetCompress
Best for: One file or Finder folders of HEIC, portal width rules, and weekly listing presets.
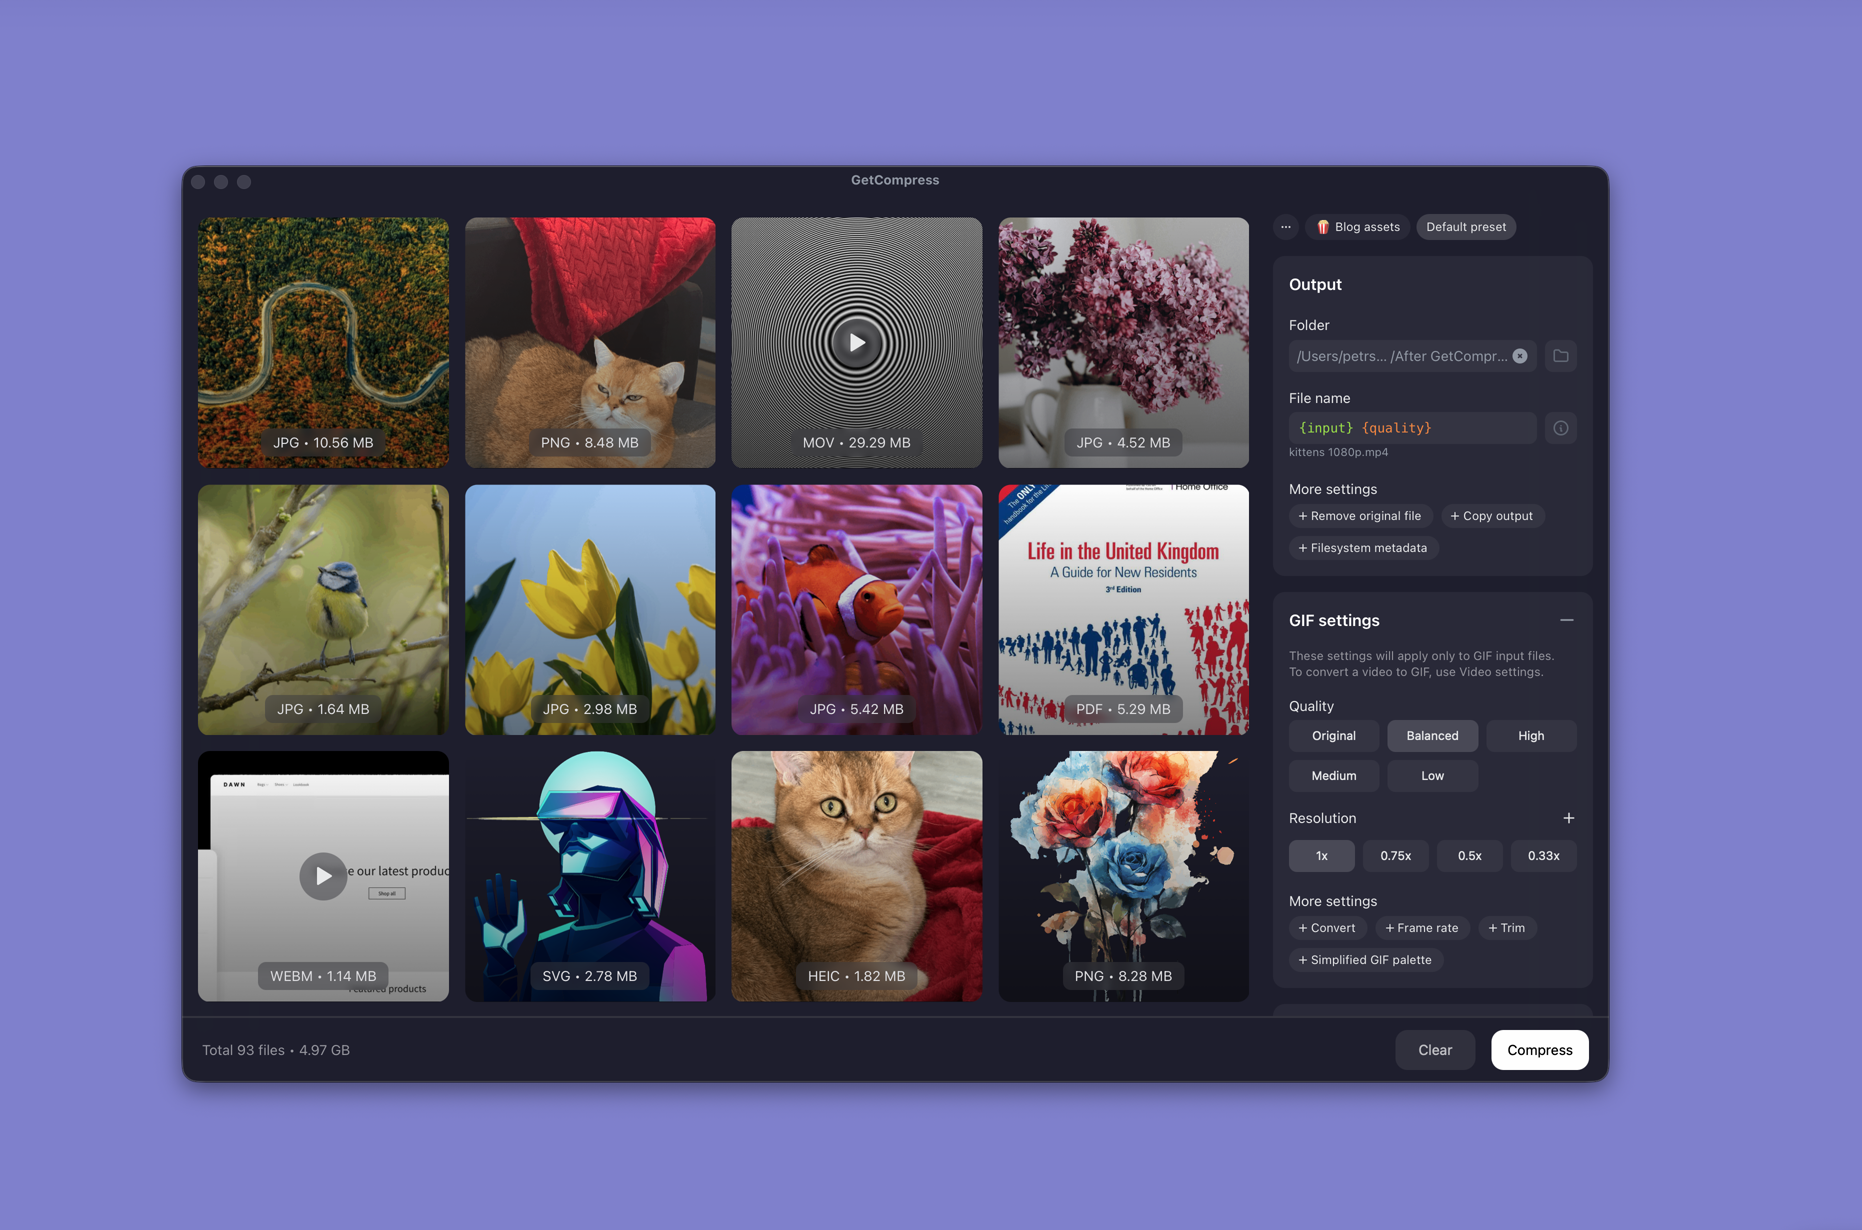
- Open GetCompress and point it at a folder of HEIC photos.
- Choose JPEG output.
- Set max width (for example 3000 px for listings) and quality (for example High or Medium).
- Export to a separate
jpeg-out/orListing/web/folder. - Save a preset such as “listing JPEG 3000 high” so you can reuse it next time.
Optional: enable folder monitoring so new HEIC files in Listing/raw/ convert automatically. Processing stays on your Mac. Exact target file size is video only; for images, control size with width and quality.
Method 2: Photos export
Best for: One album already in the Photos library.
- Select the album.
- File → Export → Export N Photos.
- Choose JPEG and a quality tier.
| Situation | Use Photos |
|---|---|
| One album already in library | Yes |
| Files only in a Finder folder | No; use Method 1 or 3 |
| Need custom width on every file | Method 1 or 3 |
For single-file context, see HEIC to JPG on Mac .
Limitation: Awkward for raw Finder drops and custom pixel caps across hundreds of files.
Method 3: sips in Terminal
Best for: Scriptable folder loops without a GUI.
Open Terminal, cd to the folder:
mkdir jpeg-out
for f in *.heic *.HEIC; do
 [ -f "$f" ] || continue
 sips -s format jpeg -s formatOptions 90 "$f" --out "jpeg-out/${f%.*}.jpg"
done
Resize while converting (common MLS rule: 3000 px long edge):
mkdir jpeg-out
for f in *.heic *.HEIC; do
 [ -f "$f" ] || continue
 sips -Z 3000 -s format jpeg -s formatOptions 85 "$f" --out "jpeg-out/${f%.*}.jpg"
done
FFmpeg when sips fails on an odd file:
ffmpeg -i problem.heic -q:v 3 jpeg-out/problem.jpg| Flag / option | Plain meaning |
|---|---|
-Z 3000 | Max width or height 3000 px |
formatOptions 85 | JPEG quality balance |
Always write to jpeg-out/ so originals stay untouched. Test on three files before running two hundred.
Limitation: No preview. Parallel shoots may duplicate IMG_####.HEIC names; convert into separate output folders or rename after.
Rename and resize after
MLS and Shopify often want consistent width and filenames like 001-front.jpg. Doing rename, resize, and convert in one pass beats chaining three scripts.
| Portal quirk | Practical response |
|---|---|
| Rejects over 5 MB | Lower quality or cap width further |
| Wants exact 3000 px long edge | Use -Z 3000 or a GetCompress max-width preset |
If files are still too large after a width cap, see how to compress images on Mac .
Which method should you use
| Situation | Start here |
|---|---|
| Finder folder, width + quality preset | GetCompress |
| One Photos album | Photos |
| Existing Terminal workflow | sips |
When Photos is enough
Photos can finish a single album export when the portal accepts the default JPEG quality.
GetCompress also helps when listing shoots repeat every week, Live Photo pairs confuse scripts, or you need resize plus convert in one preset. Processing stays local. It does not replace Lightroom for color work. When a shoot mixes HEIC from phones and JPEG from a second shooter, convert HEIC only and leave JPEG untouched until width and quality match.
- Convert HEIC to JPG on MacConvert HEIC to JPG on Mac with GetCompress, Photos, or sips in Terminal. Batch HEIC to JPEG for MLS, email, and uploads without uploading iPhone photos.
- Convert HEIC to PNG on MacConvert HEIC to PNG on Mac with GetCompress, Preview, or sips for retouch workflows. Send clients JPEG unless they asked for PNG.
- How to Compress Images on MacCompress images on Mac with GetCompress, Preview, or sips. Resize JPG and PNG, convert HEIC, and keep sharp UI for email or web.
- Batch Resize Images on MacBatch resize images on Mac with GetCompress, Preview, or sips. Scale dozens of PNG and JPEG files to a shared max width locally.