Convert WebP to JPG on Mac: 3 Methods
Convert WebP to JPG on Mac with GetCompress, Preview, or Terminal. Flatten transparency first for email, slides, and apps that only accept JPEG.
A folder of WebP assets arrives from a developer. Someone opens them in email on an older laptop and sees broken icons. PowerPoint, some CRM uploads, and print shops still expect JPEG.
Convert locally, keep the WebP masters for the live site, and flatten transparency before JPEG export when the asset had an alpha channel.
WebP vs JPEG
WebP saves bytes on the web. JPEG still wins for compatibility in email, slides, and legacy CMS tools. WebP can keep transparency; JPEG cannot.
| WebP | JPEG | |
|---|---|---|
| Modern browsers | Native | Native |
| Email attachments | Often fails | Opens widely |
| PowerPoint / Word | Hit or miss | Reliable |
| Transparency | Yes | No (flatten first) |
| Typical file size | Smaller at similar look | Larger but universal |
| Workflow | Recommendation |
|---|---|
| Production website | Keep WebP, add JPEG fallback if needed |
| Client email bundle | Convert to JPEG |
| Design review in slides | JPEG, or PNG if you need transparency |
For site-wide image compression, see how to compress images on Mac . For the reverse direction, see PNG to WebP on Mac .
Animated WebP is out of scope here. Export a still frame or use a video workflow instead of flattening motion into one JPEG.
Method 1: GetCompress
Best for: Folders of website images, a consistent max width, and reusable client JPEG presets.
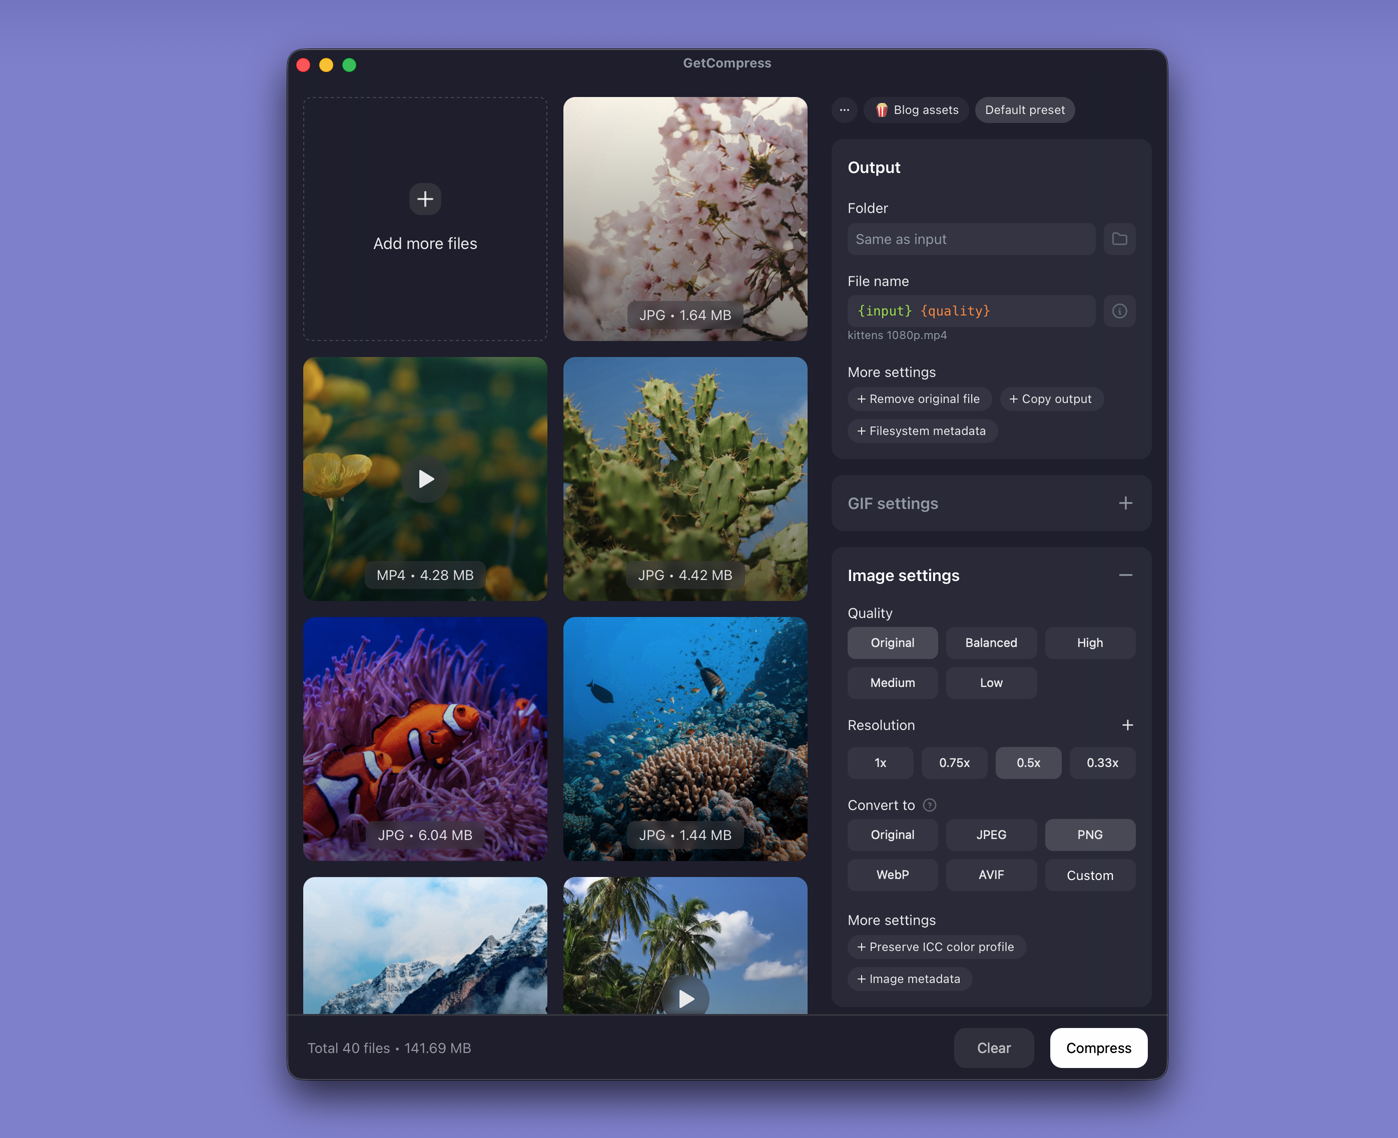
- Open GetCompress and drop WebP files or a folder into the queue.
- Choose JPEG output. Set quality and an optional max width (1920 px is common for review decks).
- Export to a new folder. Keep the WebP originals.
Processing stays on your Mac. Save a preset such as “client JPEG 1920 high” so you can reuse it next time. If the JPEG files are still too large for upload, choose a lower quality level (such as Medium or Low) or a smaller width in the same window. Exact target file size is a video workflow only; for images, use quality and dimensions.
Method 2: Convert one file in Preview
Best for: A handful of files on recent macOS.
- Double-click the file (or open it in Preview).
- File → Export…
- Format: JPEG, move the Quality slider, save.
Check one output at 100% zoom before batching. Banding in gradients sometimes needs higher JPEG quality than you expect from a small WebP source.
When Preview refuses a WebP, use Method 1 or 3.
Limitation: Tedious for dozens of files. No shared width preset across a folder.
Method 3: Convert many files in Terminal
Best for: Scripted folders when you already use Homebrew tools.
brew install webpmkdir jpeg-out
for f in *.webp; do
dwebp "$f" -o "/tmp/t.png"
sips -s format jpeg -s formatOptions 85 /tmp/t.png --out "jpeg-out/${f%.webp}.jpg"
doneFFmpeg alternative when you already have it:
mkdir jpeg-out
for f in *.webp; do
 ffmpeg -i "$f" -q:v 3 "jpeg-out/${f%.webp}.jpg"
done| Method | Best for |
|---|---|
| dwebp + sips | Tricky WebP decode paths |
| FFmpeg | One tool if you already batch video |
Save to a new folder so you do not overwrite originals.
Limitation: You maintain the loops. PATH and install steps can stall a non-Terminal team.
Which method should you use
| Situation | Start here |
|---|---|
| Files you send often, width + quality presets | GetCompress |
| Under about 10 files | Preview |
| Scripted folders | Terminal |
Stakeholder review decks rarely need full-resolution JPEG from WebP. Cap width at 1920 px unless print asked for more.
When Preview is enough
Preview is enough for a few JPEG attachments when quality looks fine at 100% zoom.
GetCompress also helps when you often get a folder of WebP assets for sales, support, or conference decks: one preset, local processing, and optional resize in the same pass. Keep production WebP on the site. Convert delivery copies only.
- Convert PNG to WebP on MacConvert PNG to WebP on Mac with GetCompress, cwebp, or a Preview resize first. Keep a JPEG or PNG fallback for older browsers.
- How to Compress Images on MacCompress images on Mac with GetCompress, Preview, or sips. Resize JPG and PNG, convert HEIC, and keep sharp UI for email or web.
- Convert WebP to JPG on WindowsConvert WebP to JPG on Windows with GetCompress, Paint, or PowerShell. Flatten transparency first for email, slides, and apps that only accept JPEG.
- Compress WebP on MacCompress WebP on Mac with GetCompress, Preview resize plus cwebp, or Terminal batches. Shrink web images locally without upload.