Convert WMV to MP4 on Mac: 3 Methods
Convert WMV to MP4 on Mac with GetCompress, QuickTime, or FFmpeg. Re-encode to H.264 for uploads, editing, and sharing.
WMV files from Windows screen recorders, older camcorders, and legacy training libraries often fail in Mac-first workflows. Preview may refuse the file, a CMS form lists MP4 only, or an editor expects H.264 in a modern container.
Convert locally, keep the source archive, and trim or resize when the portal also caps megabytes.
WMV vs MP4
WMV (Windows Media Video) is a Microsoft-era format often tied to ASF-family containers. MP4 with H.264 and AAC is what upload portals, issue trackers, and most Mac apps expect today.
| WMV | MP4 | |
|---|---|---|
| Common source | Windows Media exports, old camcorders, enterprise archives | Web, phones, modern editors |
| QuickTime Player | Opens inconsistently | Opens reliably for common H.264 files |
| Upload forms | Often rejected | Usually accepted |
| Best first step | Re-encode to H.264 MP4 | Already compatible |
If the file plays but the portal rejects the extension, conversion fixes the share. If the portal also caps megabytes, trim first. See how to compress video on Mac when size is the real blocker.
Method 1: GetCompress
Best for: One file or archive folders with recurring files from Windows, and portals with a hard megabyte cap.
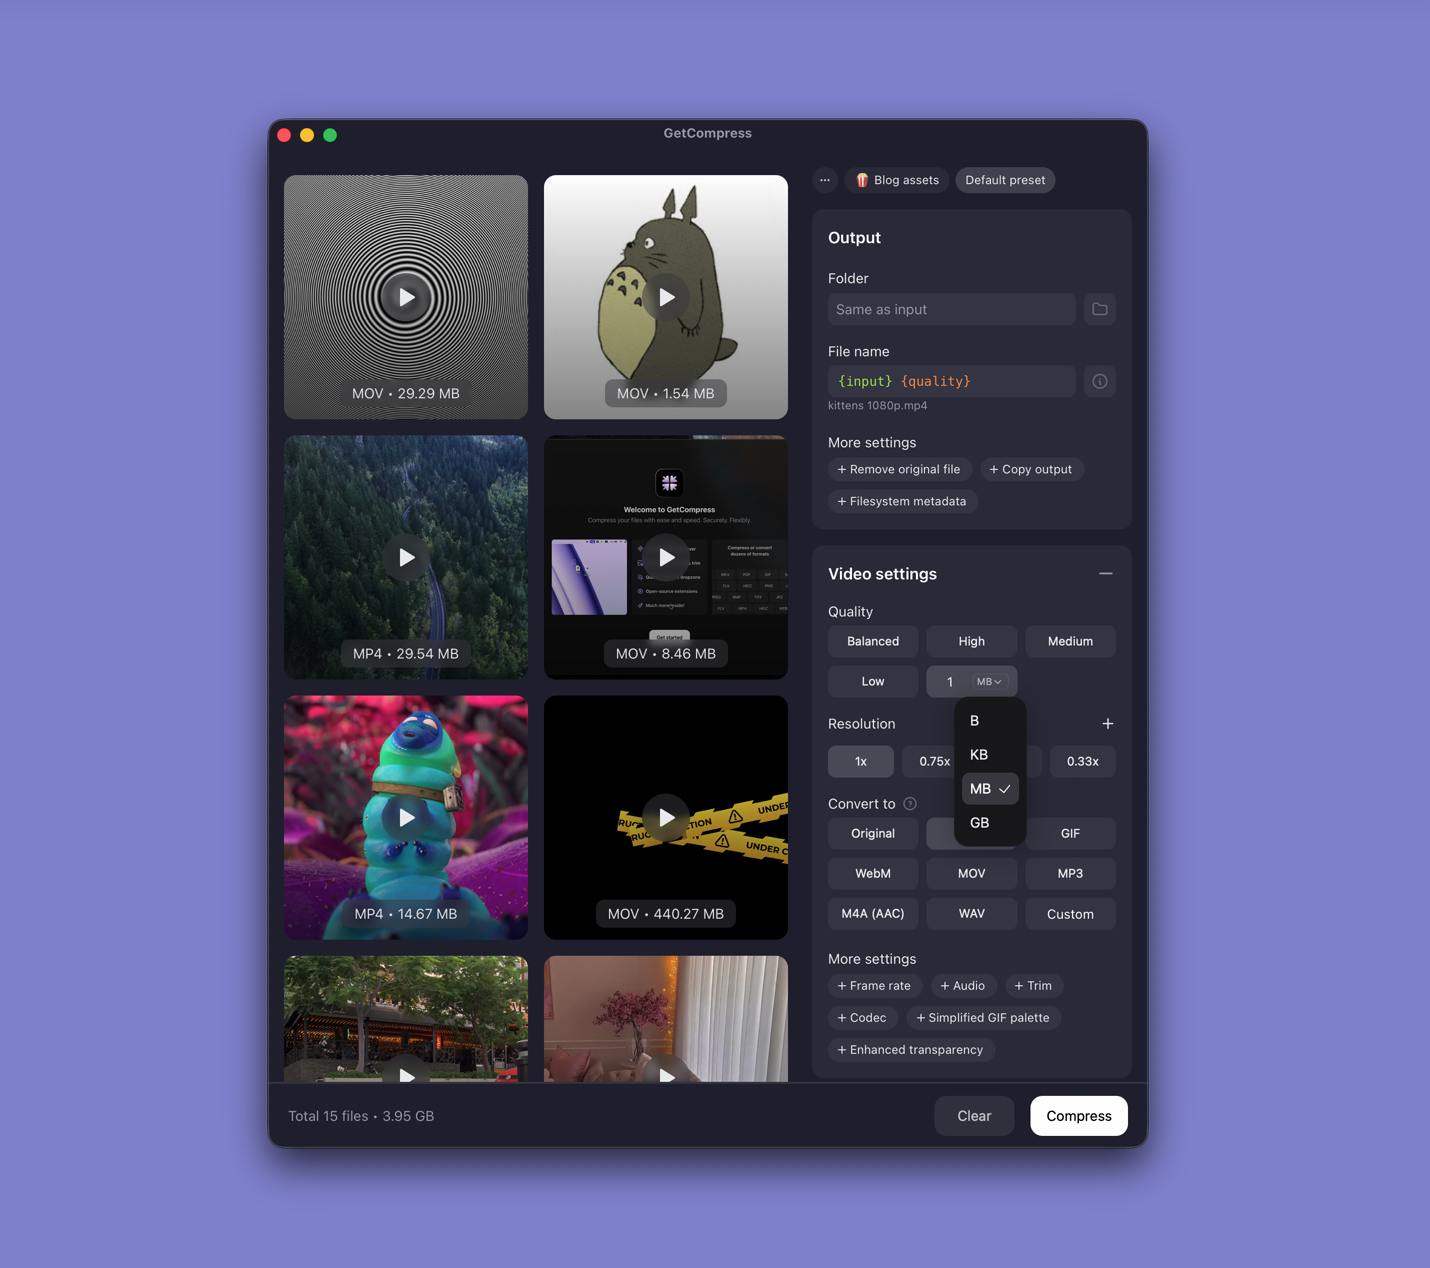
- Open GetCompress and drop WMV files or a folder into the queue.
- Trim start and end in the preview if the recording has dead air.
- Choose MP4 output, set resolution and quality, or set an exact video target file size when the form states a megabyte limit.
- Export the delivery copy. Keep the WMV master.
Processing stays on your Mac. Save a preset such as “1080p client review” or “720p ticket video” for the next time you send similar files.
Method 2: Export in QuickTime
Best for: One or two clips when QuickTime can open the file.
- Open the WMV in QuickTime Player. If it fails, skip to Method 3.
- Edit → Trim (⌘T) to remove dead air.
- File → Export As… → 1080p or 720p.
| Situation | Export choice |
|---|---|
| One clip for a ticket | 720p after trim |
| Client review | 1080p |
| Portal with a hard MB cap | Trim first, then compress further |
Limitation: No reliable batch queue, and many WMV codecs never open.
Method 3: Convert with FFmpeg
Best for: Files QuickTime cannot open, plus archive migrations in Terminal.
brew install ffmpegffmpeg -i input.wmv -c:v libx264 -crf 22 -preset medium \
-c:a aac -b:a 128k -movflags +faststart output.mp4| Flag | Plain meaning |
|---|---|
-crf 22 | Quality (lower = better, bigger; try 20 to 26) |
-preset medium | Speed versus compression tradeoff |
-movflags +faststart | Better for web playback start |
Batch folder:
mkdir mp4-out
for f in *.wmv; do
 ffmpeg -i "$f" -c:v libx264 -crf 22 -preset medium \
 -c:a aac -b:a 128k -movflags +faststart \
 "mp4-out/${f%.wmv}.mp4"
done
Older WMV files may use WMA audio. Re-encode audio with -c:a aac rather than -c copy when remux fails. For MKV sources, see MKV to MP4 on Mac .
Limitation: You maintain the commands yourself.
Which method should you use
| Situation | Start here |
|---|---|
| Recurring folders, trim, or target size | GetCompress |
| One clip that opens in QuickTime | QuickTime |
| Stubborn codecs or scripts | FFmpeg |
When QuickTime is enough
QuickTime can finish a single openable WMV that lands under the limit after a trim and a 720p or 1080p export.
GetCompress also helps when Windows colleagues send WMV often, when an archive folder needs one MP4 preset, or when a portal lists an exact megabyte cap. It does not replace Final Cut or Premiere for editing. Keep masters; convert delivery copies.
- Convert MOV to MP4 on MacConvert MOV to MP4 on Mac with GetCompress, QuickTime, or FFmpeg. Get H.264 MP4 for uploads, Windows teammates, and size-limited portals.
- Convert MKV to MP4 on MacConvert MKV to MP4 on Mac with GetCompress or FFmpeg. Remux when codecs fit, or re-encode H.264 for QuickTime and uploads.
- How to Compress Video on MacCompress video on Mac with GetCompress, QuickTime, or FFmpeg. Trim first, pick 720p or 1080p, and hit email or upload size limits without guessing.
- Convert WMV to MP4 on WindowsConvert WMV to MP4 on Windows with GetCompress, Clipchamp, or FFmpeg. Re-encode to H.264 for uploads, editing, and sharing.