Convert MKV to MP4 on Mac: 3 Methods
Convert MKV to MP4 on Mac with GetCompress or FFmpeg. Remux when codecs fit, or re-encode H.264 for QuickTime and uploads.
OBS captures, stream archives, and some open-source editors save MKV. QuickTime Player and many Mac upload forms expect MP4. Double-click does nothing, Final Cut refuses import, or a portal lists only MP4 and MOV. The fix is usually a container remux or a short re-encode, done locally so unreleased builds stay on your disk.
Why MKV is awkward on Mac
MKV is a flexible container. It can hold H.264, HEVC, VP9, multiple audio tracks, and subtitles. Mac-first apps prefer MP4 or MOV.
| Source | Typical issue |
|---|---|
| OBS or stream capture | Crash-safe MKV during recording; sharing wants MP4 |
| Downloaded archive | QuickTime will not open |
| Editor share | Import fails until you convert |
| Scenario | Try first | If that fails |
|---|---|---|
| OBS MKV after recording | Remux with -c copy | Re-encode to H.264 |
| HEVC inside MKV | Remux if QuickTime plays it | Re-encode for older portals |
| Huge file, short clip needed | Trim, then re-encode | Target file size in GetCompress |
If your source is MOV, see MOV to MP4 on Mac . For size after conversion, see how to compress video on Mac .
Method 1: GetCompress
Best for: Folders of captures, preview and trim, and portals that also list a megabyte cap.
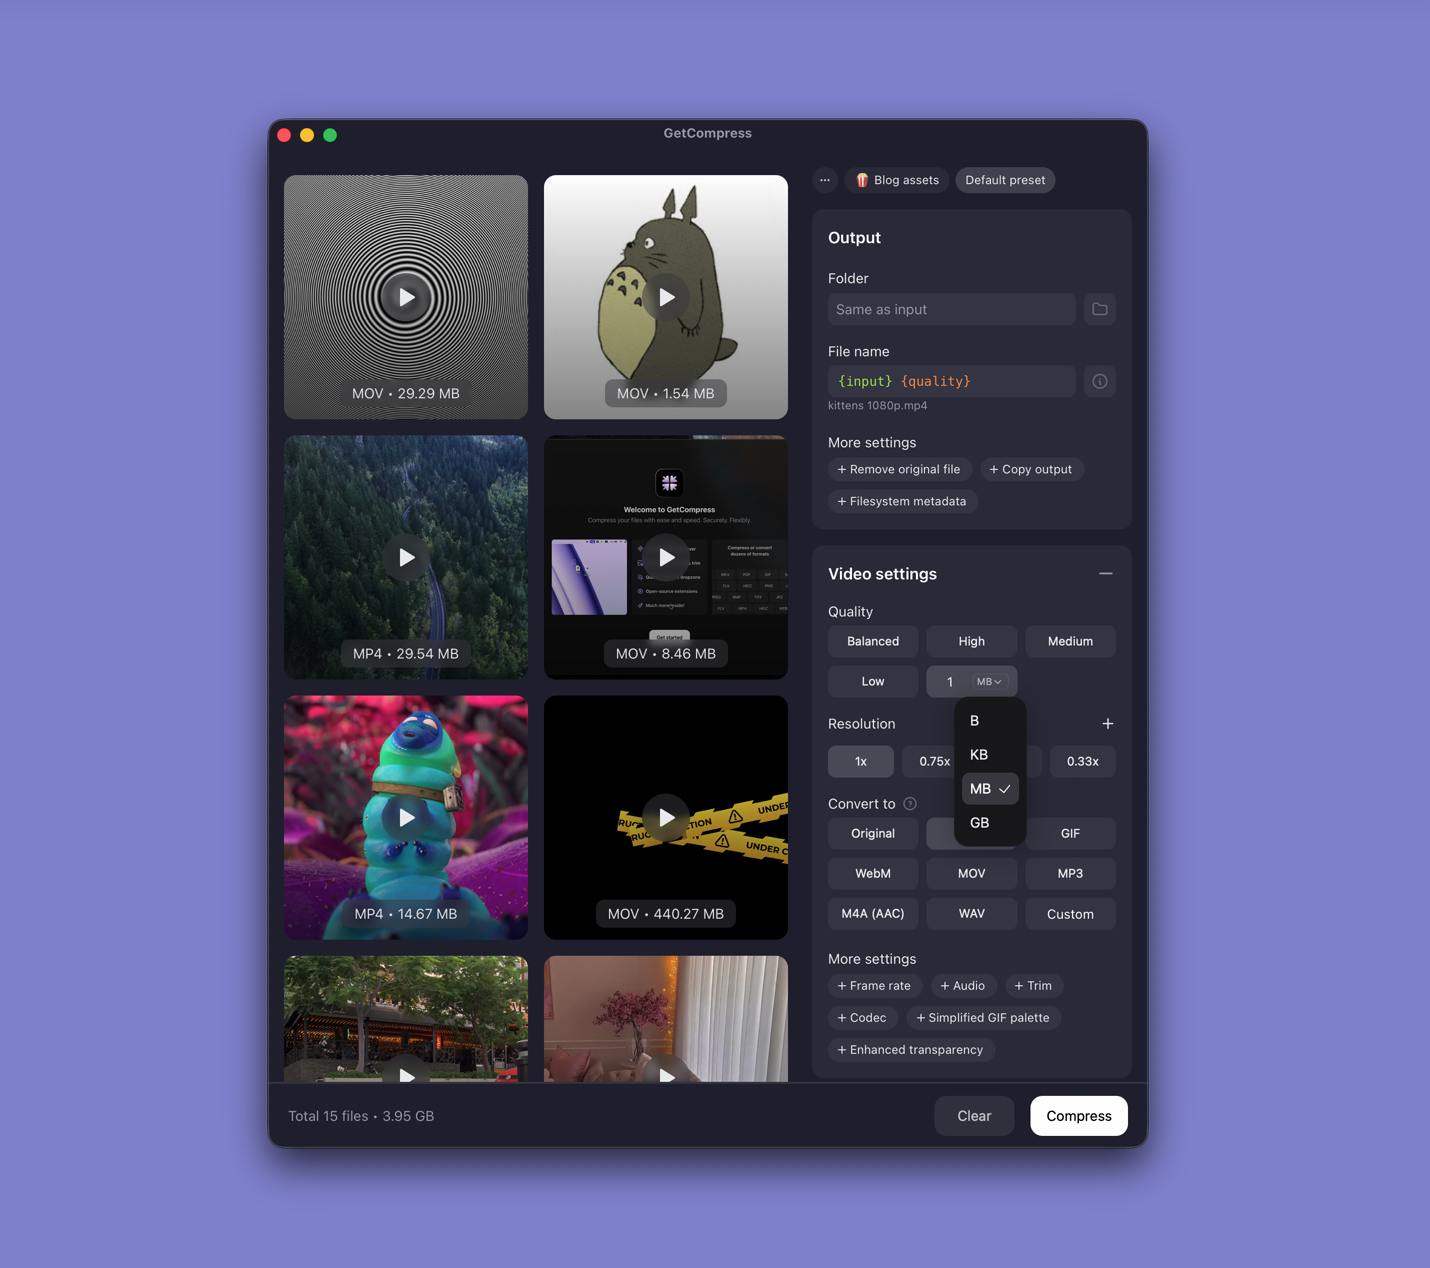
- Drop one MKV or a whole folder into GetCompress .
- Choose MP4 output.
- Trim to the seconds you need in the preview.
- Set a quality level (Original, High, Medium, Balanced, or Low) or resolution, or type a target file size when the form states a limit.
- Export and confirm playback in QuickTime before you delete the MKV.
Processing stays on your Mac. Save a preset such as “1080p H.264 share” for the next time you convert similar OBS files.
Method 2: Remux with FFmpeg
Best for: Instant container swaps when video and audio already fit MP4.
brew install ffmpegffmpeg -i input.mkv -c copy output.mp4Batch remux:
mkdir mp4-out
for f in *.mkv; do
 ffmpeg -i "$f" -c copy "mp4-out/${f%.mkv}.mp4"
done
Play the output in QuickTime before you delete the original. If QuickTime shows black video but VLC plays it, the inner codec still needs re-encoding even though remux succeeded.
Limitation: Remux fails when codecs inside MKV are not MP4-compatible. VLC can convert too, but export profiles are easy to mis-pick.
Method 3: Re-encode when remux fails
Best for: HEVC or VP9 inside MKV that must become H.264 for an upload target.
ffmpeg -i input.mkv -c:v libx264 -crf 22 -preset medium \
 -c:a aac -b:a 128k -movflags +faststart output.mp4
Lower resolution for sharing:
ffmpeg -i input.mkv -vf scale=-2:1080 -c:v libx264 -crf 23 \
-c:a aac -b:a 128k -movflags +faststart output-1080p.mp4| Destination | Practical settings |
|---|---|
| Slack or ticket | 720p, CRF 23 |
| Client Drive review | 1080p, CRF 22, +faststart |
| Web embed | Always add -movflags +faststart |
Trim long captures first. A 30-second bug repro at 1080p beats re-encoding a full-hour MKV.
Limitation: Re-encode takes time and is lossy. Keep the MKV master.
Which method should you use
| Situation | Start here |
|---|---|
| Batch, trim, or a size cap | GetCompress |
| Codecs already fit MP4 | FFmpeg remux |
| Remux errors or old portals | FFmpeg re-encode |
When remux alone is enough
If -c copy produces a QuickTime-playable MP4 under the limit, stop there.
GetCompress fits when OBS folders arrive often, when you need preview and trim before encode, or when format and size must be fixed together. It does not replace a full editor for multi-track mixes.
- Convert MOV to MP4 on MacConvert MOV to MP4 on Mac with GetCompress, QuickTime, or FFmpeg. Get H.264 MP4 for uploads, Windows teammates, and size-limited portals.
- How to Compress Video on MacCompress video on Mac with GetCompress, QuickTime, or FFmpeg. Trim first, pick 720p or 1080p, and hit email or upload size limits without guessing.
- Convert Video to MP4 on MacConvert video to MP4 on Mac with GetCompress, QuickTime, or FFmpeg. Get H.264 MP4 for uploads, editing, and sharing from MOV, MKV, and more.
- Convert MKV to MP4 on WindowsConvert MKV to MP4 on Windows with GetCompress or FFmpeg. Remux when codecs fit, or re-encode H.264 for Clipchamp, Teams, and uploads.