Convert FLV to MP4 on Mac: 3 Methods
Convert FLV to MP4 on Mac with GetCompress, QuickTime when it opens, or FFmpeg. Get H.264 MP4 for uploads and modern playback.
FLV files from old Flash-era screen recorders, early streaming exports, and archived webinars refuse modern upload forms. QuickTime may not open them, a CMS lists MP4 only, or you need to edit the clip in a current NLE. Converting locally preserves the footage without relying on deprecated players.
Three solid routes cover most Mac jobs: GetCompress for archive folders, QuickTime when it opens the file, and FFmpeg as the reliable convert path.
Method 1: GetCompress
Best for: Migrating a Flash-era library when upload forms enforce modern formats and size caps.
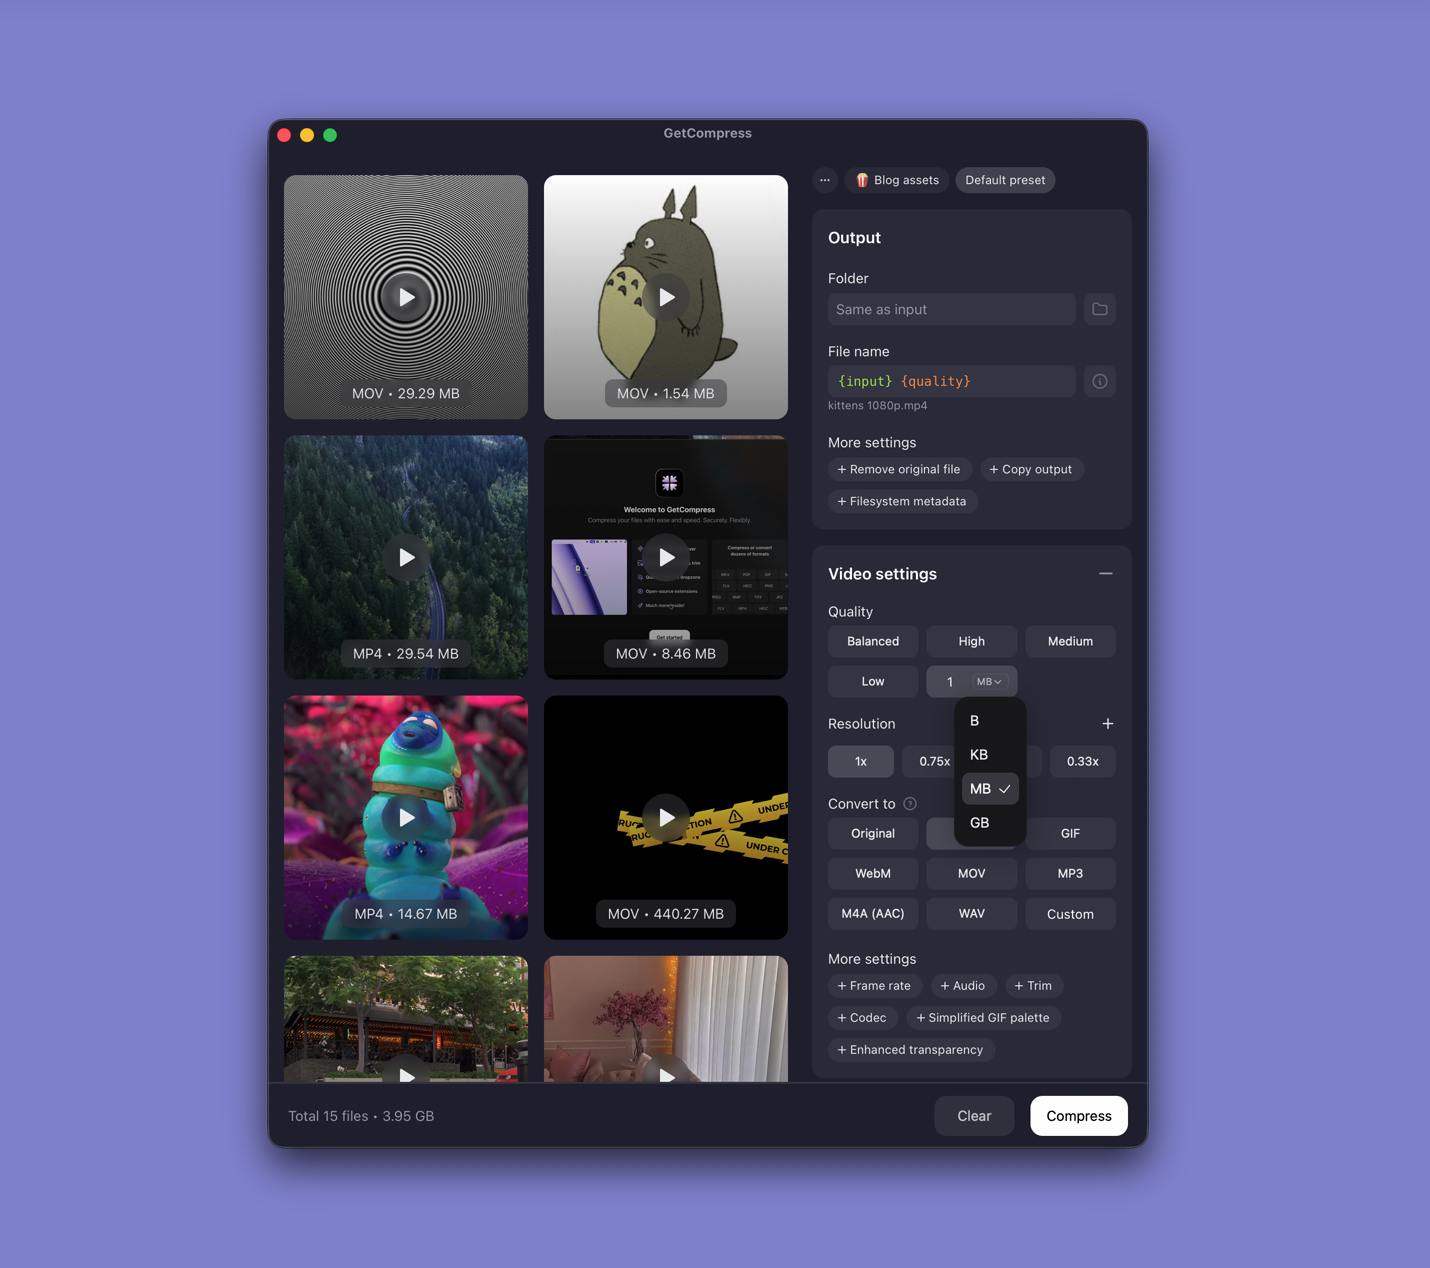
- Drop FLV tutorials, screen captures, or a whole folder into GetCompress .
- Choose MP4 output.
- Trim long intro screens in preview.
- Set a quality level (Original, High, Medium, Balanced, or Low) or resolution, or use target file size when the portal lists a megabyte cap (video only).
- Export and keep the masters.
Processing stays on your Mac. Save a preset such as “1080p LMS re-upload” for the rest of the archive.
Method 2: Export in QuickTime
Best for: The minority of FLV files QuickTime can open.
- Open the FLV in QuickTime Player if supported; otherwise skip to Method 3.
- Edit → Trim (⌘T) to remove intro slates or dead air.
- File → Export As… → 1080p (or 720p for chat attachments).
| Situation | Export choice |
|---|---|
| One short tutorial clip | 720p after trim |
| Full-screen UI demo | 1080p |
| Hard MB cap | Trim first, then compress further |
Limitation: QuickTime support for FLV is inconsistent. Most archives should start with Method 1 or 3.
Method 3: Convert with FFmpeg
Best for: Reliable FLV conversion, remux when possible, and folder scripts.
brew install ffmpegStandard re-encode:
ffmpeg -i input.flv -c:v libx264 -crf 22 -preset medium \
 -c:a aac -b:a 128k -movflags +faststart output.mp4
If the source already contains H.264 and AAC, try remux first:
ffmpeg -i input.flv -c copy output.mp4When remux fails, fall back to the libx264 command. FLV with MP3 audio may need explicit -c:a aac. Batch:
mkdir mp4-out
for f in *.flv; do
 ffmpeg -i "$f" -c:v libx264 -crf 22 -preset medium \
 -c:a aac -b:a 128k -movflags +faststart \
 "mp4-out/${f%.flv}.mp4"
done| Flag | Plain meaning |
|---|---|
-crf 22 | Quality (lower = better, bigger; try 20 to 26) |
-preset medium | Speed vs compression tradeoff |
-movflags +faststart | Faster web start |
For WMV on the same drive: WMV to MP4 on Mac .
Limitation: You own the commands and error messages.
Which method should you use
| Situation | Start here |
|---|---|
| Archive folder, recurring convert, or size cap | GetCompress |
| One file QuickTime opens | QuickTime |
| Most FLV sources and automation | FFmpeg |
Other containers: convert video to MP4 on Mac . Size limits: how to compress video on Mac .
FLV vs MP4 in plain terms
| FLV | MP4 | |
|---|---|---|
| Common source | Flash recorders, old streaming rips, legacy LMS | Web, phones, modern editors |
| QuickTime Player | Often fails to open | Opens natively |
| Upload forms | Rejected | Usually accepted |
| Best first step | Re-encode to H.264 MP4 | Already compatible |
If the visual quality is fine but the container is dead, re-encoding fixes the share.
When FFmpeg alone is enough
FFmpeg can work when you already maintain convert scripts and the archive is uniform.
GetCompress also helps when teammates who prefer a simple app revive tutorials, when you batch a mixed legacy folder, or when conversion and a typed megabyte target belong in one step. It does not replace FFmpeg for obscure remux edge cases. After conversion, if the MP4 is still too large, adjust quality or resolution in the same window rather than starting over.
- Convert Video to MP4 on MacConvert video to MP4 on Mac with GetCompress, QuickTime, or FFmpeg. Get H.264 MP4 for uploads, editing, and sharing from MOV, MKV, and more.
- Convert WMV to MP4 on MacConvert WMV to MP4 on Mac with GetCompress, QuickTime, or FFmpeg. Re-encode to H.264 for uploads, editing, and sharing.
- How to Compress Video on MacCompress video on Mac with GetCompress, QuickTime, or FFmpeg. Trim first, pick 720p or 1080p, and hit email or upload size limits without guessing.
- Convert FLV to MP4 on WindowsConvert FLV to MP4 on Windows with GetCompress, Clipchamp when it imports, or FFmpeg. Get H.264 MP4 for uploads and modern playback.