Convert HEVC to H.264 on Mac: 3 Methods
Convert HEVC to H.264 on Mac with GetCompress, QuickTime, or FFmpeg. H.264 MP4 for older devices, Windows teammates, and upload tools.
iPhone and modern camera exports often use HEVC (H.265) because it saves space at the same visual quality. Older Windows PCs, some web upload pipelines, and legacy editors expect H.264 instead. Converting HEVC to H.264 locally fixes compatibility. Expect larger files unless you also lower resolution or quality.
Three solid routes cover most Mac jobs: GetCompress for batches and size caps, QuickTime for one or two clips, and FFmpeg for CRF control and scripts.
Method 1: GetCompress
Best for: One clip or AirDrop folders of HEVC clips when Windows teammates need playable files, or when a portal lists H.264 and a megabyte cap.
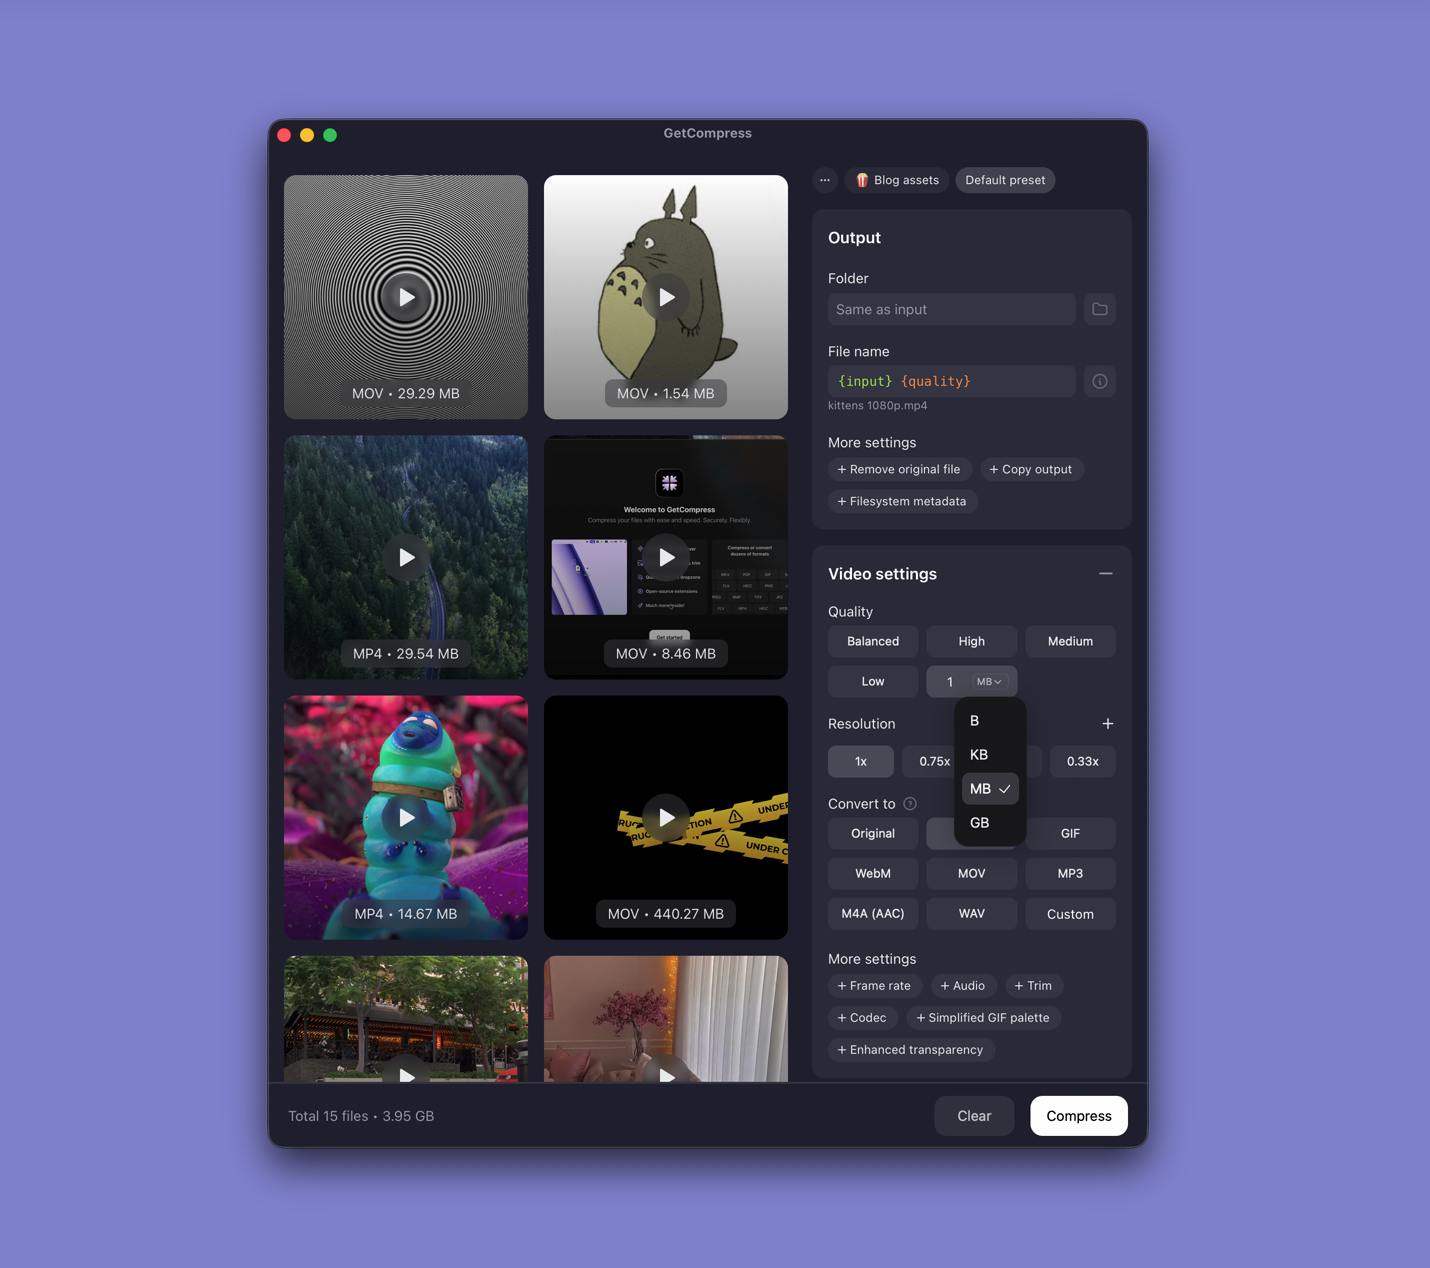
- Drop HEVC MOV or MP4 files into GetCompress .
- Choose MP4 with H.264 (or H.264 output as offered).
- Trim setup time in preview when the phone recording is long.
- Set a quality level (Original, High, Medium, Balanced, or Low) or resolution, or use target file size when the portal lists a megabyte cap (video only).
- Export and keep the HEVC masters.
Processing stays on your Mac. Save presets such as “1080p H.264 client” or “720p H.264 Slack”.
Method 2: Export in QuickTime
Best for: One or two HEVC clips, when you do not need a batch queue.
- Open the HEVC clip in QuickTime Player (MOV or MP4).
- Edit → Trim (⌘T) if you only need part of the recording.
- File → Export As… → 1080p (or 720p for chat and email).
Export produces H.264 video. File size will grow compared to the HEVC original unless you choose 720p or trim aggressively.
| Situation | Export choice |
|---|---|
| Client on older Windows | 1080p H.264 export |
| Slack or ticket attachment | 720p after trim |
| Hard MB cap | 720p, then compress further |
Limitation: No batch for twenty HEVC files. No CRF tuning.
Method 3: Convert with FFmpeg
Best for: Exact quality, resolution, and folder loops.
brew install ffmpegVerify the source codec:
ffprobe -v error -select_streams v:0 -show_entries stream=codec_name -of csv=p=0 input.movWhen output shows hevc, re-encode:
ffmpeg -i input.mov -c:v libx264 -crf 22 -preset medium \
 -c:a aac -b:a 128k -movflags +faststart output.mp4
Batch every MOV in a folder:
mkdir h264-out
for f in *.mov; do
 ffmpeg -i "$f" -c:v libx264 -crf 22 -preset medium \
 -c:a aac -b:a 128k -movflags +faststart \
 "h264-out/${f%.mov}.mp4"
done
Hardware encode on Apple Silicon (optional, faster):
ffmpeg -i input.mov -c:v h264_videotoolbox -b:v 8M -c:a aac output.mp4| Flag | Plain meaning |
|---|---|
-crf 22 | Quality (lower = better, bigger; try 20 to 26) |
-preset medium | Speed vs compression tradeoff |
-movflags +faststart | Web-friendly metadata placement |
For AVCHD MTS that is already H.264, you may only need a container swap: AVCHD to MP4 on Mac . Container-focused iPhone exports: MOV to MP4 on Mac .
Limitation: You own the commands and error messages.
Which method should you use
| Situation | Start here |
|---|---|
| Batch AirDrops, recurring convert, or size cap | GetCompress |
| One or two clips | QuickTime |
| Scripts, CRF, or VideoToolbox | FFmpeg |
When to keep HEVC instead: H.264 vs H.265 codecs . Size limits after convert: how to compress video on Mac .
HEVC vs H.264 in plain terms
| HEVC (H.265) | H.264 (AVC) | |
|---|---|---|
| Common source | iPhone HEVC, newer cameras, High Efficiency screen recordings | Web uploads, legacy editors, broad playback |
| File size at same quality | Usually smaller | Usually larger |
| Compatibility | Good on recent Apple and Android devices | Universal |
| Best first step | Re-encode to H.264 when playback fails | Already widely accepted |
When QuickTime alone is enough
If QuickTime exports one working H.264 file under the size limit, you are done.
GetCompress also helps when iPhone clips pile up every week, when Windows teammates need a preset, or when conversion and a typed megabyte target belong in one step. It does not replace FFmpeg for hardware-encode experiments or broadcast packaging. After conversion, if the H.264 file is still too large, lower quality or resolution in the same window rather than starting over in Terminal.
- H.264 vs H.265Compare H.264 (AVC) and H.265 (HEVC) for file size, quality, compatibility, and when to pick each codec for sharing video.
- Convert MOV to MP4 on MacConvert MOV to MP4 on Mac with GetCompress, QuickTime, or FFmpeg. Get H.264 MP4 for uploads, Windows teammates, and size-limited portals.
- How to Compress Video on MacCompress video on Mac with GetCompress, QuickTime, or FFmpeg. Trim first, pick 720p or 1080p, and hit email or upload size limits without guessing.
- Convert HEVC to H.264 on WindowsConvert HEVC to H.264 on Windows with GetCompress, Clipchamp, or FFmpeg. Get playable H.264 MP4 for older PCs and upload tools.