Crop GIF on Windows: 3 Methods
Crop GIF on Windows with GetCompress for trim and preview, FFmpeg for exact crop coordinates, or Clipchamp before you export GIF.
Your screen recording GIF shows the full desktop, but the bug lives in a small panel. Cropping to that panel can cut file size more than lowering fps alone. Fewer pixels per frame means fewer bytes in every frame of the loop. Crop before you compress again so you do not re-palette a muddy file.
Why crop GIFs before sharing
Full-screen captures include taskbar icons, empty space, and background apps that do not help the reader. Cropping focuses attention on the interaction and reduces width and height at once.
| Factor | Effect on GIF size |
|---|---|
| Width and height | Half the width often cuts size sharply |
| Dead space | Wastes palette budget on static pixels |
| Duration | Unchanged by crop; trim idle seconds separately |
Measure crop coordinates from the top-left of the frame: crop=width:height:x:y. Example for a 700×500 region starting at (80, 120): crop=700:500:80:120. Prefer even numbers when FFmpeg warns about chroma.
See compress GIFs on Windows after you crop. If the destination allows video, convert GIF to MP4 on Windows is often smaller than any GIF.
Method 1: GetCompress
Best for: QA and design loops when you want trim, frame preview, width presets, and local export without measuring x/y in PowerShell every ticket.
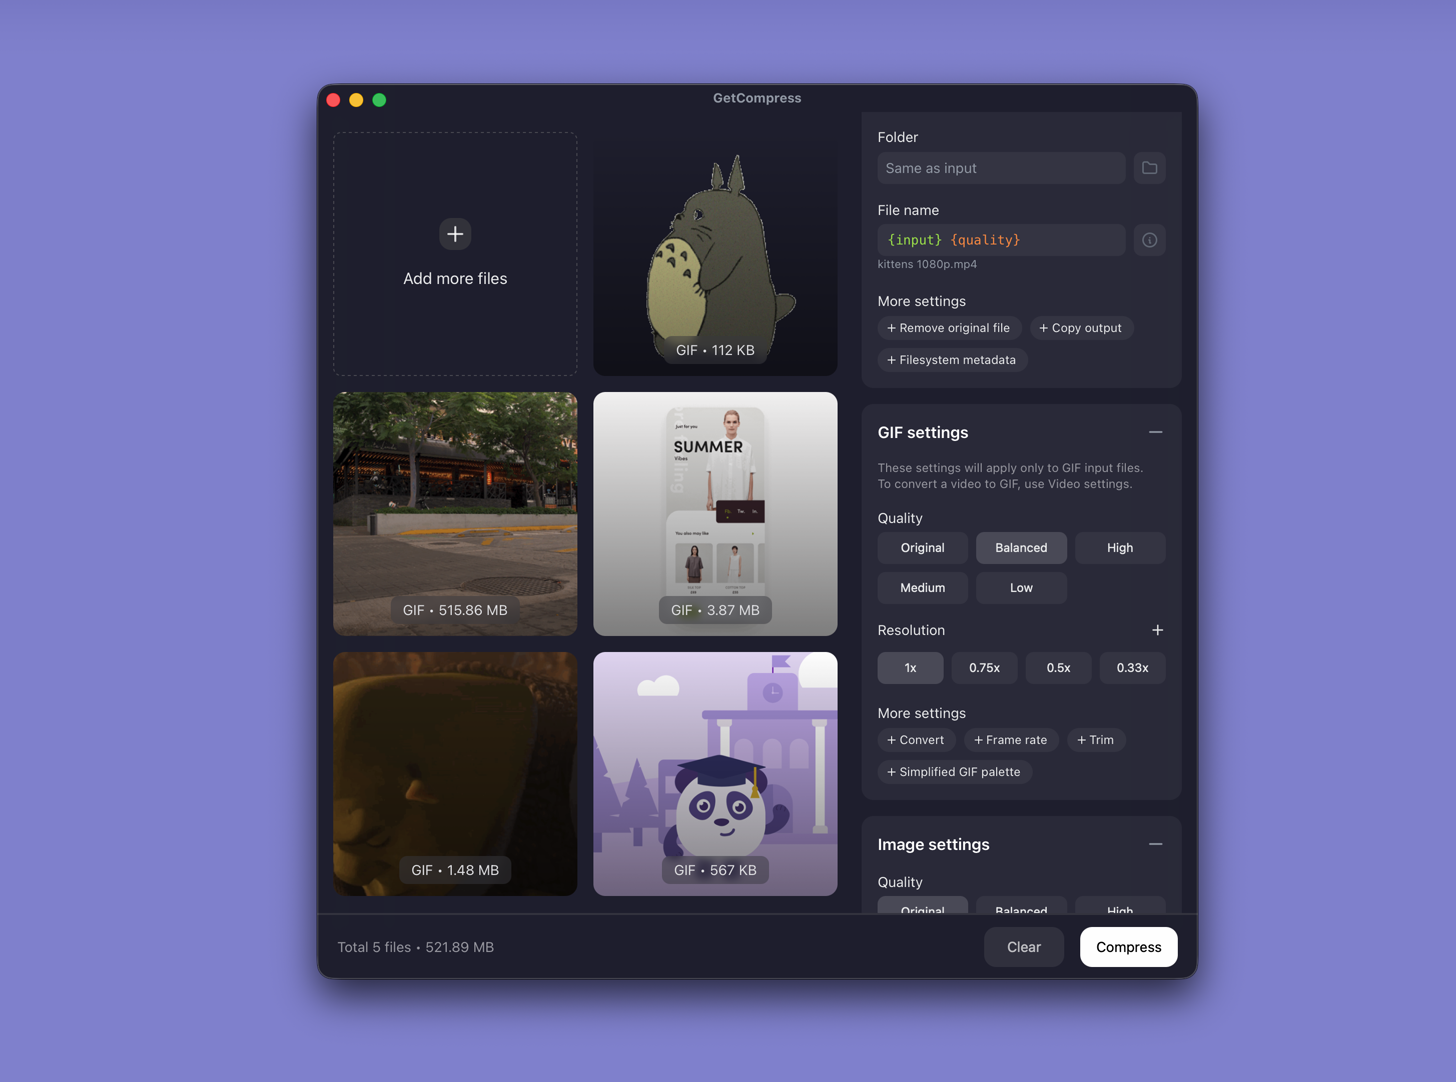
- Drop an existing GIF, or a MOV/MP4 source, into GetCompress .
- Trim start and end in the preview so idle desktop time is gone first.
- Scrub frames to confirm tooltips and labels stay readable after you tighten the frame.
- Set output width (for example 640 or 800 px) and quality, then export GIF (or MP4 when the thread allows video).
Processing stays on your PC. Save a preset such as “QA 700w 10fps” when your app window size is stable across builds.
Method 2: Crop GIF with FFmpeg
Best for: Exact crop= values and folder batches that share one layout.
Install FFmpeg with winget if needed:
winget install --id Gyan.FFmpeg -eCrop and re-encode with a palette pipeline:
ffmpeg -i full-screen.gif -vf "crop=700:500:80:120,fps=10,scale=700:-1:flags=lanczos,split[s0][s1];[s0]palettegen[p];[s1][p]paletteuse" -loop 0 cropped.gifCrop only (faster, may keep original palette quirks):
ffmpeg -i full-screen.gif -vf "crop=700:500:80:120" -loop 0 cropped-raw.gifBatch when every file shares the same capture layout:
mkdir cropped-out
Get-ChildItem *.gif | ForEach-Object {
 ffmpeg -i $_.Name -vf "crop=700:500:80:120,fps=10,split[s0][s1];[s0]palettegen[p];[s1][p]paletteuse" -loop 0 "cropped-out\$($_.Name)"
}
Measure x and y from a screenshot opened in Paint when you do not have ffplay: note the top-left of the crop box, then plug values into the filter string.
Limitation: You maintain coordinates and scripts. Preview one output before batching ten files.
Method 3: Trim in Clipchamp first
Best for: When the source is still video, not a finished GIF.
- Open the recording in Clipchamp.
- Trim the timeline.
- Export MP4 when the destination allows video, or convert to GIF only if required.
See video to GIF on Windows when GIF is required.
Limitation: Clipchamp is not a dedicated finished-GIF crop tool. Existing GIF files usually need Method 1 or 2.
Which method should you use
| Situation | Start here |
|---|---|
| Recurring QA loops, trim + preview | GetCompress |
| Known crop box, scripts, shared layout | FFmpeg |
| Source is still video | Clipchamp first, then export |
When FFmpeg alone is enough
FFmpeg can work when you already know the crop coordinates and only need this once.
GetCompress also covers trim and frame preview in one place, reusable width presets, batch repros after a test round, and local processing so staging UI never hits an upload site. It does not replace a motion design suite. For Mac, see crop GIF on Mac .
- Compress GIFs on WindowsCompress GIFs on Windows with GetCompress, Clipchamp MP4 export, or FFmpeg. Trim, shrink width, or switch to MP4 when the tool allows video.
- Convert Video to GIF on WindowsConvert MOV or MP4 to GIF on Windows with GetCompress, Clipchamp (for MP4), or FFmpeg. Trim first, keep width low, and ask if video is allowed.
- Convert GIF to MP4 on WindowsConvert GIF to MP4 on Windows with GetCompress, Clipchamp when you still have video, or FFmpeg. Smaller files and smoother motion with full color.
- Crop GIF on MacCrop GIF on Mac with GetCompress for trim and preview, FFmpeg for exact crop coordinates, or QuickTime before you export GIF.