Convert MOV to MP4 on Windows: 3 Methods
Convert MOV to MP4 on Windows with GetCompress, Clipchamp, or FFmpeg. Get H.264 MP4 for uploads, Teams, and size-limited portals.
Screen recordings, iPhone AirDrops, and camera exports often arrive as MOV. SharePoint, older Windows apps, and many portals expect MP4 with H.264 instead. Converting locally avoids re-recording and keeps unreleased demos off third-party upload sites.
MOV vs MP4
MOV and MP4 are both containers. They can hold the same H.264 or HEVC streams. Compatibility with the tool on the other end is what usually fails.
| MOV | MP4 | |
|---|---|---|
| Common source | iPhone, screen recorders, some editors | Web uploads, Android, most Windows apps |
| Built-in Windows apps | Opens in some apps, not all | Widely accepted |
| Upload forms | Often rejected | Usually accepted |
| Best first step | Import and export as MP4 | Already the everyday choice |
If only the extension blocks upload, a simple export is enough. If the portal also caps megabytes, convert and compress together. See how to compress video on Windows when size is the main problem.
Method 1: GetCompress
Best for: MOV files you send, folders of screen recordings, and forms that also list a megabyte cap.
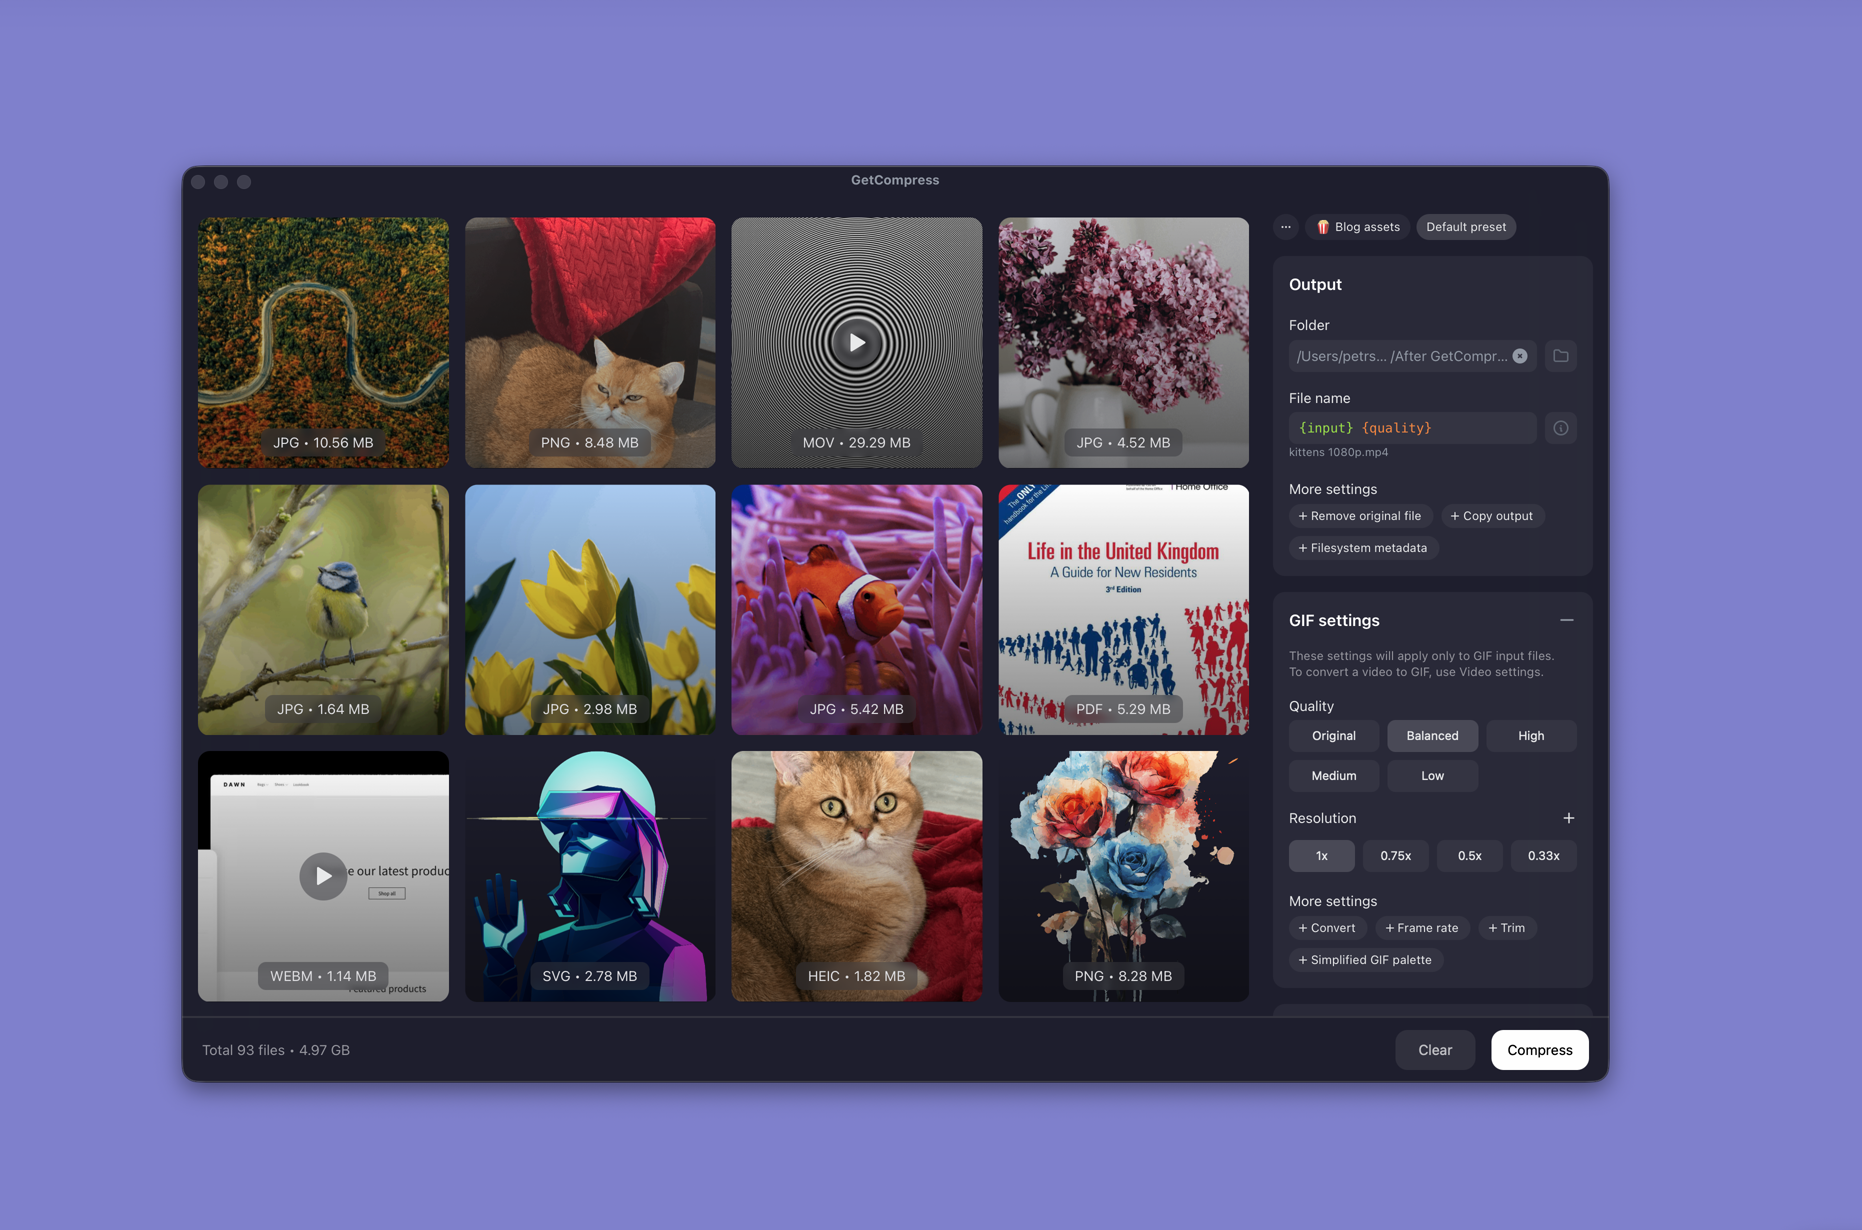
- Drop one MOV or a whole folder into GetCompress .
- Choose MP4 output.
- Trim setup time in the preview if needed.
- Set a quality level (Original, High, Medium, Balanced, or Low) or resolution, or type a target file size when the form states a limit.
- Export and drag the MP4 into the destination.
Processing stays on your PC. Save a preset such as “720p ticket video” for the next bug repro batch.
Method 2: Export in Clipchamp
Best for: One or two MOV clips with no batch need.
- Open the MOV in Clipchamp.
- Trim the timeline if needed.
- Export at 1080p (or 720p for email or Teams).
| Situation | Export choice |
|---|---|
| One clip for a ticket | 720p after trim |
| Client review in OneDrive | 1080p |
| Portal with a hard MB cap | Trim first, then Method 1 or 3 |
Limitation: No typed megabyte target, and mixed folders get slow if you open each file by hand.
Method 3: Convert with FFmpeg
Best for: Codec control, remux when possible, and folder loops.
winget install --id Gyan.FFmpeg -eIf the source is already H.264 inside MOV, try a fast remux:
ffmpeg -i input.mov -c copy output.mp4When remux fails, re-encode:
ffmpeg -i input.mov -c:v libx264 -crf 22 -preset medium `
-c:a aac -b:a 128k -movflags +faststart output.mp4| Flag | Plain meaning |
|---|---|
-crf 22 | Quality (lower = better, bigger; try 20 to 26) |
-preset medium | Speed versus compression tradeoff |
-movflags +faststart | Faster web start |
For MKV sources that also need MP4, see MKV to MP4 on Windows .
Limitation: You maintain the scripts. VLC can transcode (Media → Convert / Save), but profiles are easy to mis-pick for rare jobs.
Which method should you use
| Situation | Start here |
|---|---|
| Batch, presets, or a size cap | GetCompress |
| One screen recording or phone clip | Clipchamp |
| Remux first or automate a folder | FFmpeg |
When Clipchamp alone is enough
If one Clipchamp export produces a playable MP4 under the limit, stop there.
GetCompress fits when you convert MOV exports every day, when a whole capture session lands in one folder, or when format and size must be fixed together. Keep the original MOV as the master when you may re-edit later.
- Convert MKV to MP4 on WindowsConvert MKV to MP4 on Windows with GetCompress or FFmpeg. Remux when codecs fit, or re-encode H.264 for Clipchamp, Teams, and uploads.
- How to Compress Video on WindowsCompress video on Windows with GetCompress, Clipchamp, or FFmpeg. Trim first, pick 720p or 1080p, and clear email or upload size limits.
- Convert Video to MP4 on WindowsConvert video to MP4 on Windows with GetCompress, Clipchamp, or FFmpeg. Get H.264 MP4 for uploads, editing, and sharing from MOV, MKV, WMV, and more.
- Convert MOV to MP4 on MacConvert MOV to MP4 on Mac with GetCompress, QuickTime, or FFmpeg. Get H.264 MP4 for uploads, Windows teammates, and size-limited portals.