Convert MP4 to MOV on Mac: 3 Methods
Convert MP4 to MOV on Mac with GetCompress, QuickTime, or FFmpeg. Remux when codecs match, or re-encode for Final Cut and Apple workflows.
MP4 files from Windows colleagues, web downloads, and Android phones often need to land as MOV for Final Cut Pro, Motion, or a QuickTime-named deliverable. Converting locally avoids re-downloading and keeps project footage on your Mac.
MP4 vs MOV
Both are containers. They can hold the same H.264, HEVC, and AAC streams. Apple-centric post production still defaults to MOV for some import presets and handoff habits.
| MP4 | MOV | |
|---|---|---|
| Common source | Web, Android, Windows exports | iPhone, Final Cut, QuickTime |
| Final Cut Pro | Imports fine; some teams prefer MOV | Native default for many templates |
| Same codecs inside? | Often yes | Often yes |
| First step | Remux when codecs match | Ready for Apple workflow |
See MOV vs MP4 explained . For the reverse direction, see MOV to MP4 on Mac .
Method 1: GetCompress
Best for: Vendor MP4 folders, weekly ingest, and handoffs that also hit a transfer size cap.
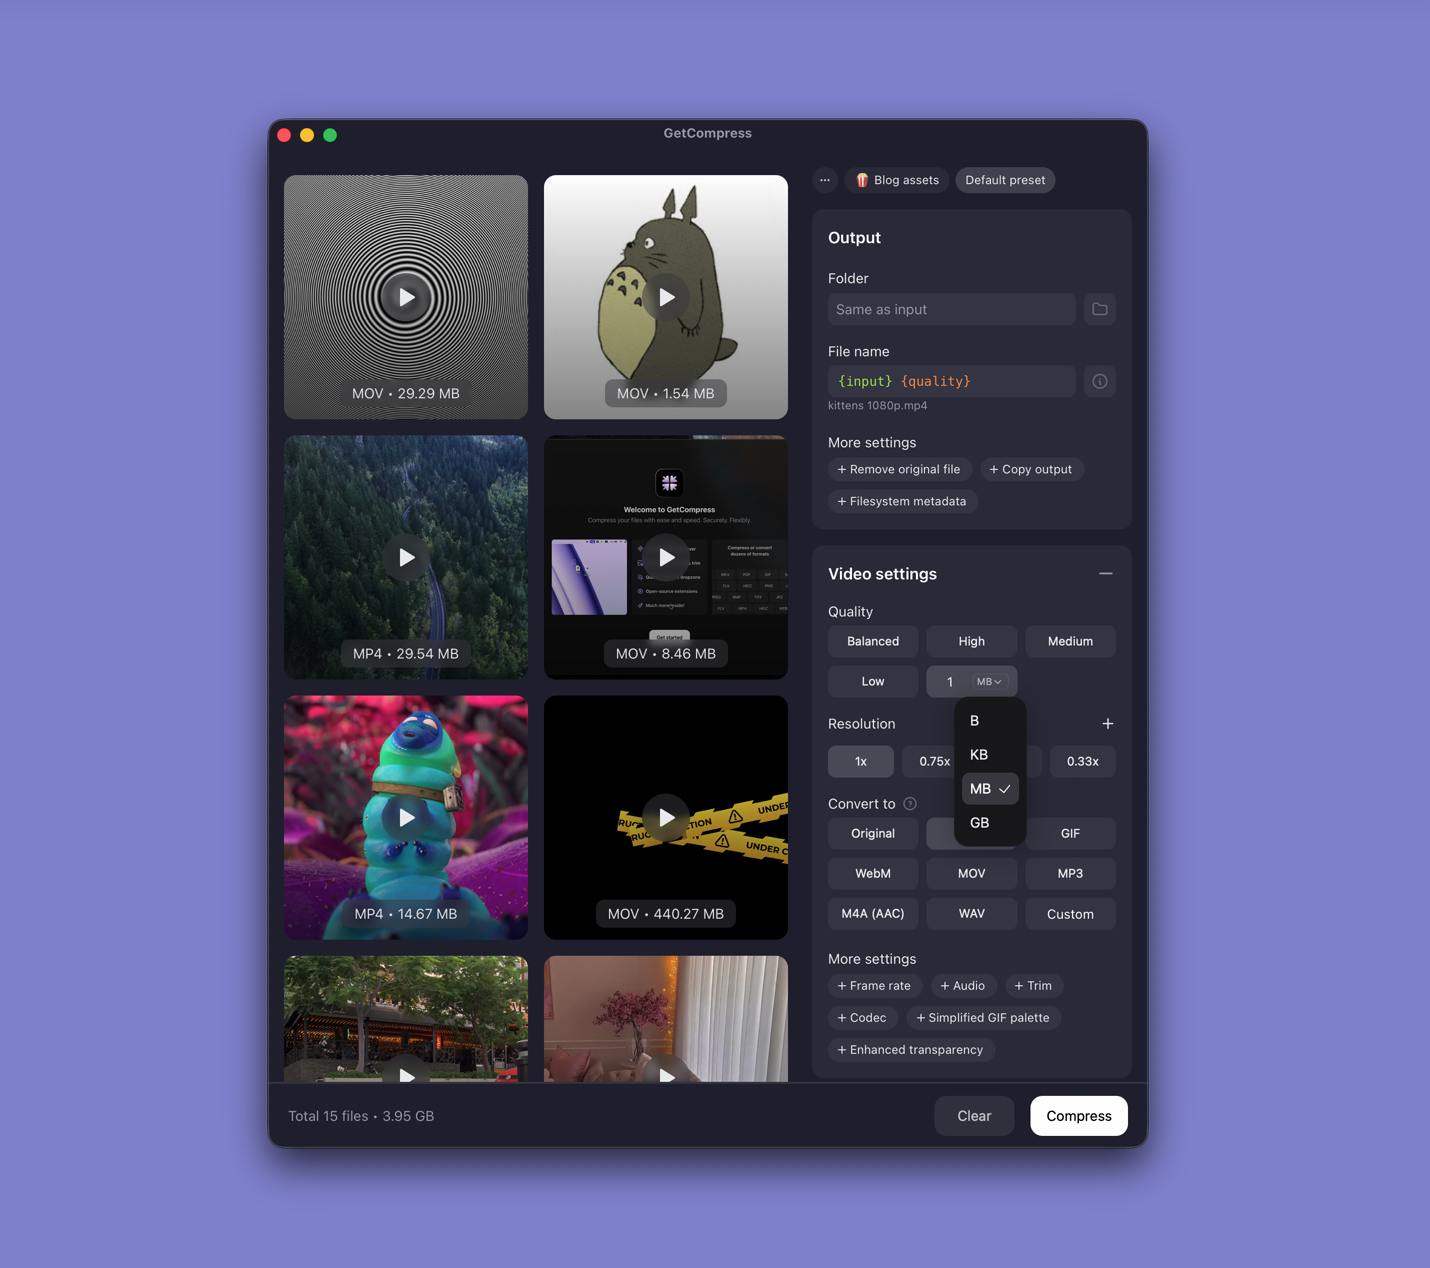
- Drop one MP4 or a whole folder into GetCompress .
- Choose MOV output.
- Trim leader frames in the preview if needed.
- Set a quality level (Original, High, Medium, Balanced, or Low) or resolution, or type a target file size when the transfer link caps megabytes.
- Export and import into Final Cut or your archive folder.
Processing stays on your Mac. Save a preset such as “1080p MOV for Final Cut”.
Method 2: Export in QuickTime
Best for: One or two MP4 clips.
- Open the MP4 in QuickTime Player.
- Edit → Trim (⌘T) if you only need part of the clip.
- File → Export As → 1080p (or source resolution when available).
QuickTime saves as MOV by default on macOS. That re-encodes to H.264. For a fast container swap without generation loss, use FFmpeg remux below when codecs already match.
| Situation | Export choice |
|---|---|
| One B-roll clip for Final Cut | 1080p or source resolution |
| Proxy for review | 720p after trim |
| Master archive | Source resolution export |
Limitation: No batch queue. Opening twenty downloads by hand gets slow.
Method 3: Convert with FFmpeg
Best for: Instant remux and ProRes intermediates when needed.
brew install ffmpegFast remux:
ffmpeg -i input.mp4 -c copy output.movH.264 MOV for sharing with editors:
ffmpeg -i input.mp4 -c:v libx264 -crf 18 -preset medium \
 -c:a aac -b:a 192k output.mov
ProRes for heavy scrubbing (larger files):
ffmpeg -i input.mp4 -c:v prores_ks -profile:v 3 -c:a pcm_s16le output.movBatch a folder:
mkdir mov-out
for f in *.mp4; do
 ffmpeg -i "$f" -c copy "mov-out/${f%.mp4}.mov" 2>/dev/null || \
 ffmpeg -i "$f" -c:v libx264 -crf 18 -preset medium \
 -c:a aac -b:a 192k "mov-out/${f%.mp4}.mov"
done| Flag | Plain meaning |
|---|---|
-c copy | No re-encode; instant remux |
-crf 18 | High quality when re-encode is required |
prores_ks | Intermediate codec for heavy editing |
When you need MP4 again after editing, see MOV to MP4 on Mac .
Limitation: You maintain the scripts. ProRes fills disks quickly.
Which method should you use
| Situation | Start here |
|---|---|
| Batch, presets, or a size cap | GetCompress |
| One clip | QuickTime |
| Remux first or ProRes intermediate | FFmpeg |
When a remux is enough
If -c copy produces a MOV the editor accepts, stop there. Re-encoding only helps when the profile is odd or the handoff needs a smaller transfer.
GetCompress fits when Windows-sourced MP4 clips arrive daily and your edit bay expects MOV wrappers. Keep the MP4 master when you may need a web delivery later.
- Convert MOV to MP4 on MacConvert MOV to MP4 on Mac with GetCompress, QuickTime, or FFmpeg. Get H.264 MP4 for uploads, Windows teammates, and size-limited portals.
- MP4 vs MOVCompare MP4 and MOV containers for video: codecs inside, Apple vs Windows compatibility, editing workflows, and conversion tips.
- How to Compress Video on MacCompress video on Mac with GetCompress, QuickTime, or FFmpeg. Trim first, pick 720p or 1080p, and hit email or upload size limits without guessing.
- Convert MP4 to MOV on WindowsConvert MP4 to MOV on Windows with GetCompress, Clipchamp trim, or FFmpeg. Remux when codecs match for Mac editors and QuickTime workflows.