Convert MP4 to MOV on Windows: 3 Methods
Convert MP4 to MOV on Windows with GetCompress, Clipchamp trim, or FFmpeg. Remux when codecs match for Mac editors and QuickTime workflows.
Mac editors and clients sometimes request MOV deliverables even when your source is MP4 from Windows recorders, downloads, or exports. Converting locally produces the wrapper they expect without re-shooting.
MP4 vs MOV
Both containers can hold the same H.264, HEVC, and AAC streams. The difference is mostly extension and ecosystem defaults, not a quality upgrade.
| MP4 | MOV | |
|---|---|---|
| Common source | Windows exports, web, Android | iPhone, Final Cut, QuickTime |
| Mac post production | Accepted; MOV still common in specs | Default in many Apple workflows |
| Same codecs inside? | Often yes | Often yes |
| First step | Remux when codecs match | Ready for Mac users |
See MOV vs MP4 explained . For the reverse path, see MOV to MP4 on Windows . Confirm the Mac side actually needs MOV, not the reverse conversion.
Method 1: GetCompress
Best for: Project folders headed to Mac clients and handoffs that also hit a transfer size cap.
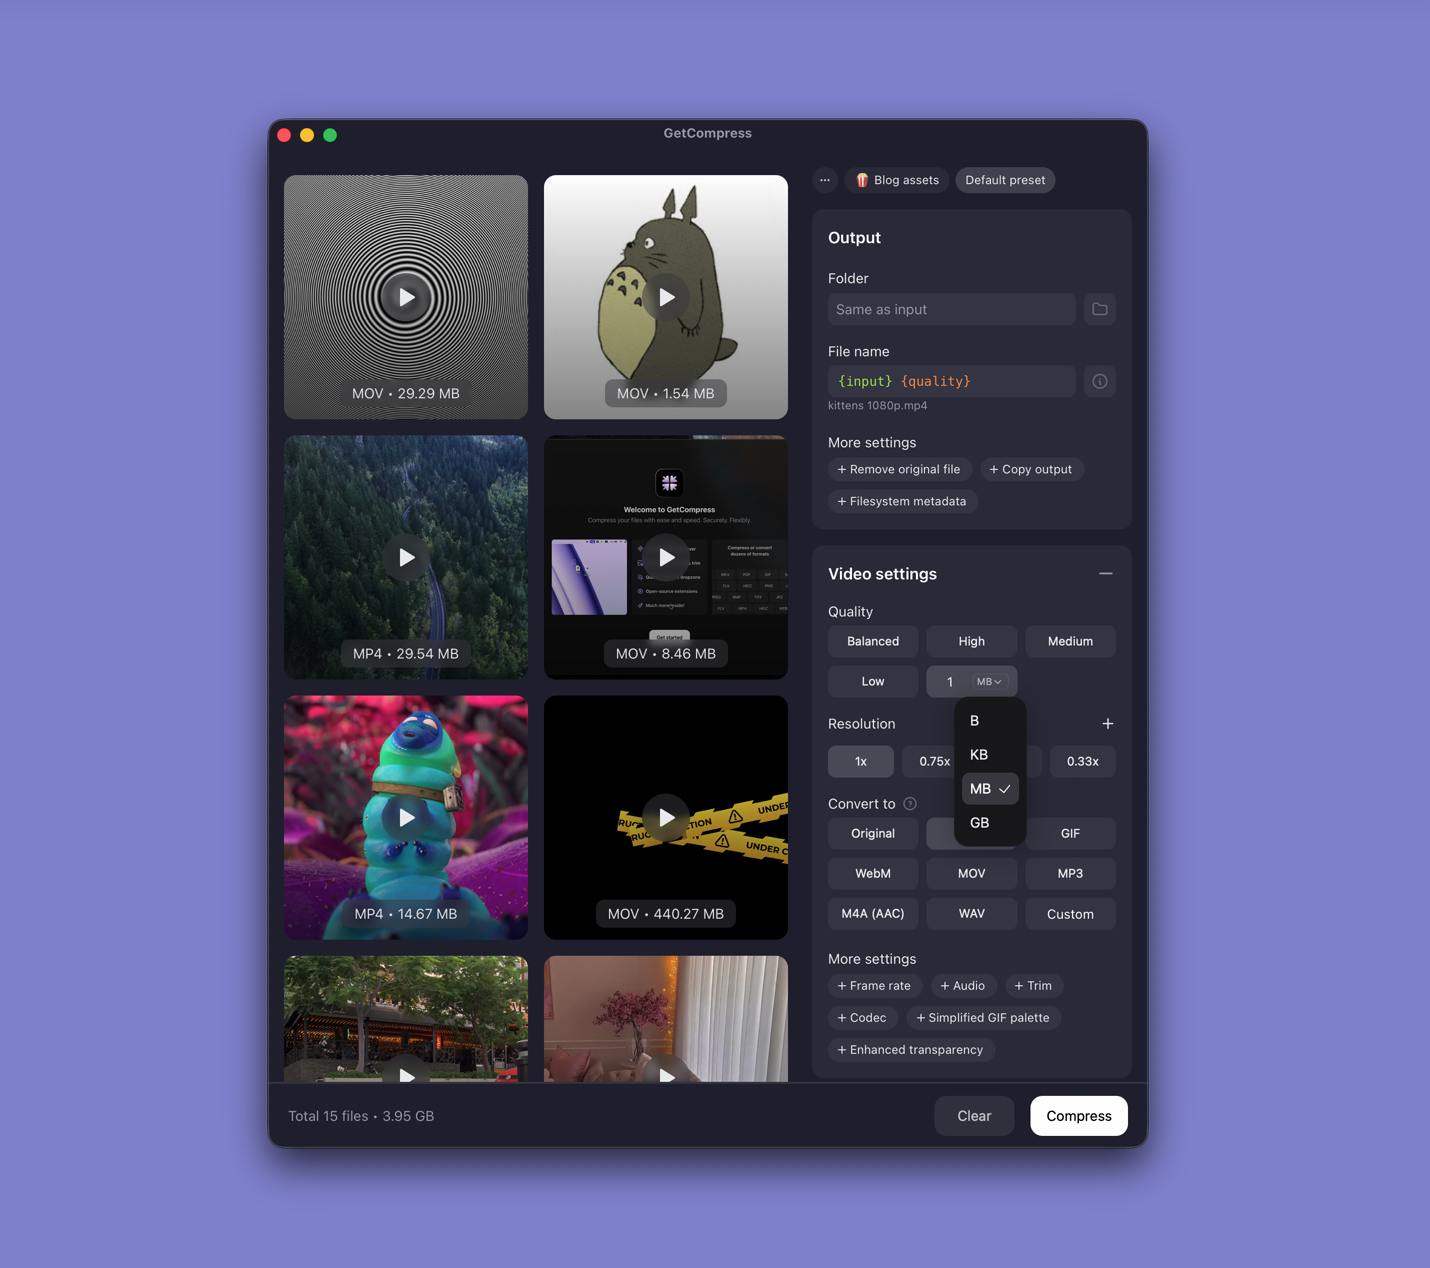
- Drop one MP4 or a whole folder into GetCompress .
- Choose MOV output.
- Trim slates in the preview if needed.
- Set a quality level (Original, High, Medium, Balanced, or Low) or resolution, or type a target file size when the transfer link caps megabytes.
- Export and verify playback on a Mac sample machine when the deliverable is client-facing.
Processing stays on your PC. Save a preset such as “1080p MOV for Mac”.
Method 2: Convert with FFmpeg
Best for: Instant remux and PowerShell batches.
winget install --id Gyan.FFmpeg -eFast remux:
ffmpeg -i input.mp4 -c copy output.movRe-encode when the Mac editor warns about the profile:
ffmpeg -i input.mp4 -c:v libx264 -crf 18 -preset medium `
 -c:a aac -b:a 192k output.mov
Batch a folder:
mkdir mov-out
Get-ChildItem *.mp4 | ForEach-Object {
 ffmpeg -i $_.Name -c copy "mov-out\$($_.BaseName).mov"
 if ($LASTEXITCODE -ne 0) {
 ffmpeg -i $_.Name -c:v libx264 -crf 18 -preset medium `
 -c:a aac -b:a 192k "mov-out\$($_.BaseName).mov"
 }
}| Symptom after remux | Fix |
|---|---|
| Mac editor still warns | Re-encode with libx264 |
| No audio on Mac | Re-encode with -c:a aac |
| File huge | Re-encode with a higher CRF |
When the handoff also needs smaller files, see how to compress video on Windows .
Limitation: You maintain the scripts.
Method 3: Trim in Clipchamp first
Best for: Visual trim before remux.
- Open the MP4 in Clipchamp.
- Trim the timeline if needed.
- Export at 1080p (or source resolution) as an intermediate if useful.
- Remux or convert to MOV with Method 1 or 2.
Clipchamp exports MP4 by default, not MOV. Use it as a trim helper. If the Mac recipient accepts H.264 MP4, Clipchamp alone may be enough and you can skip the MOV step.
Limitation: No true MOV container export.
Which method should you use
| Situation | Start here |
|---|---|
| Batch, presets, or a size cap | GetCompress |
| Remux first or automate a folder | FFmpeg |
| Visual trim needed | Clipchamp, then Method 1 or 2 |
When a remux is enough
If -c copy produces a MOV the Mac editor accepts, stop there. Re-encoding only helps when the profile is odd or the transfer link needs a smaller file.
GetCompress fits when you prepare files for Mac users from Windows-produced MP4 archives every week. Keep the MP4 master when you may also need a web delivery.
- Convert MOV to MP4 on WindowsConvert MOV to MP4 on Windows with GetCompress, Clipchamp, or FFmpeg. Get H.264 MP4 for uploads, Teams, and size-limited portals.
- MP4 vs MOVCompare MP4 and MOV containers for video: codecs inside, Apple vs Windows compatibility, editing workflows, and conversion tips.
- How to Compress Video on WindowsCompress video on Windows with GetCompress, Clipchamp, or FFmpeg. Trim first, pick 720p or 1080p, and clear email or upload size limits.
- Convert MP4 to MOV on MacConvert MP4 to MOV on Mac with GetCompress, QuickTime, or FFmpeg. Remux when codecs match, or re-encode for Final Cut and Apple workflows.