Resize Image Pixels on Windows: 3 Methods
Resize image pixels on Windows with GetCompress, Photos or Paint, or FFmpeg. Match export width to where images actually display.
The blog template displays heroes at 960 px CSS width, yet design exports often arrive at 2880 px. Readers never see those extra pixels, but they download them on every page load. Resize to real display size before you compress or convert format.
The display-size rule
Export at roughly 2x the CSS width for high-DPI screens, not at the raw capture size of your monitor or camera. Pixel dimensions are not the same as DPI metadata. A 1920 px wide image tagged at 72 or 300 DPI still occupies 1920 px when the layout uses pixel width.
| Where it shows | Export width hint |
|---|---|
| Blog hero at 960 px CSS | 1600 to 1920 px |
| Email inline | 600 to 800 px |
| Open Graph / social card | Match platform spec, often 1200 px wide |
| Thumbnail in deck | 1280 to 1920 px |
Check the frame in Figma, the CMS template, or the email builder before you batch. For format choice after size, see how to compress images on Windows .
Method 1: GetCompress
Best for: Mixed folders, reusable widths, and convert-plus-resize in one pass.
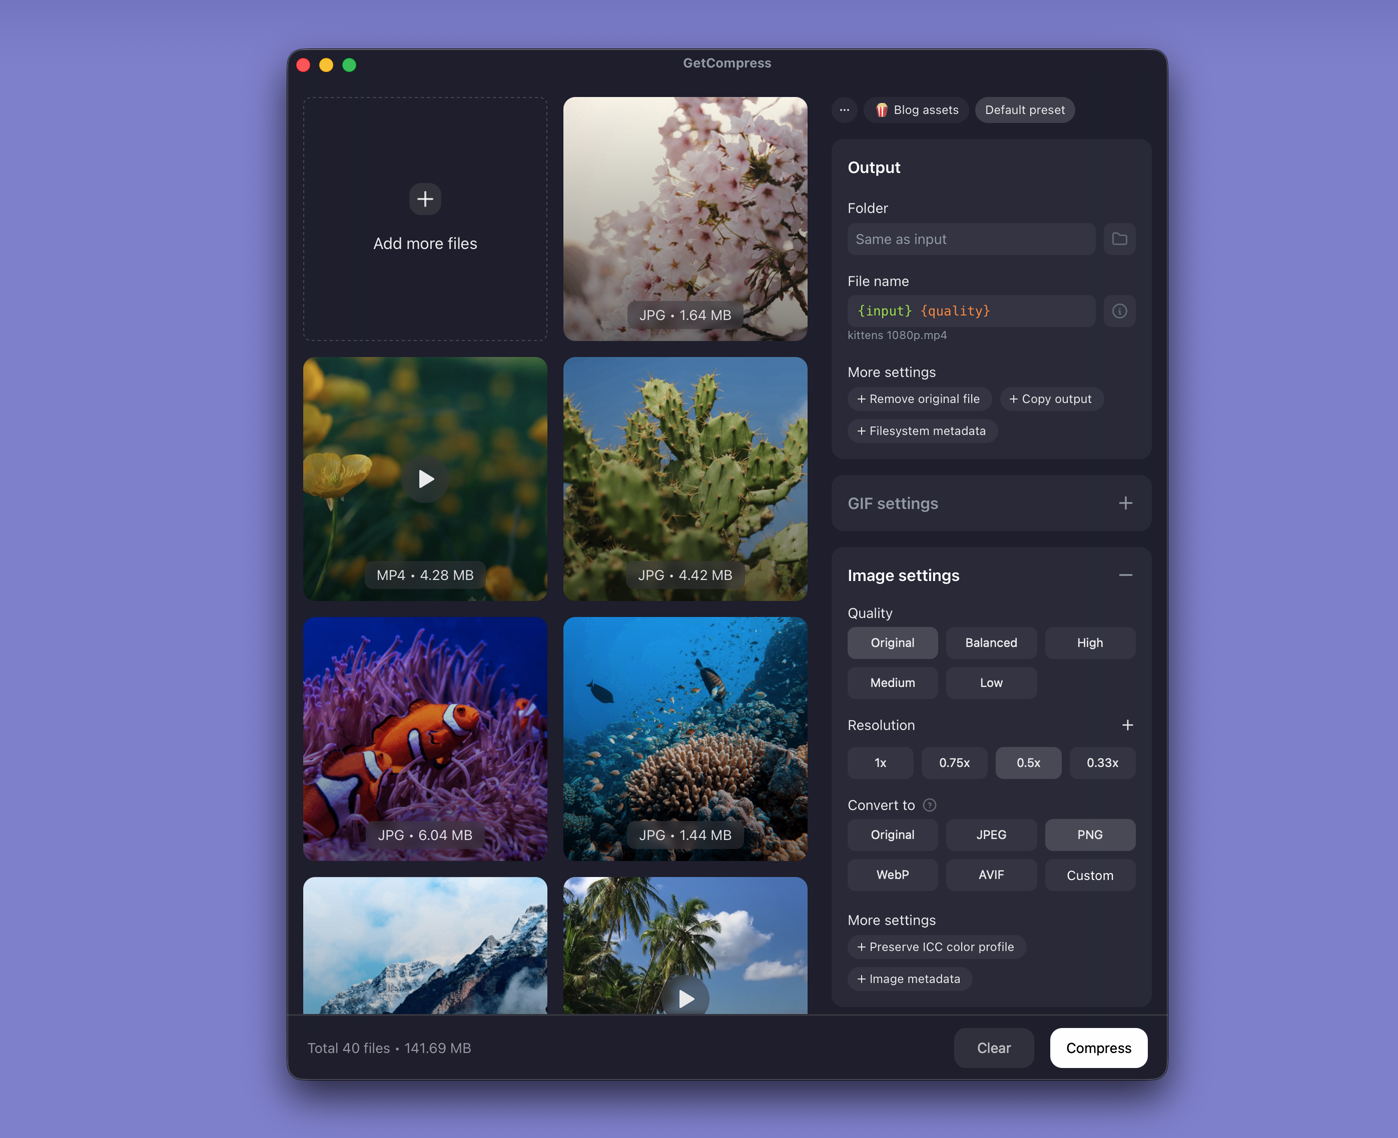
- Drop one image or a folder into GetCompress .
- Set max width or max height (for example 1920 px for blog heroes).
- Choose output format if the CMS expects JPEG or WebP.
- Preview a UI screenshot at the new width, then export beside the originals.
- Save a preset such as “blog 1920px” so you can reuse it next time.
Processing stays on your PC. For bulk folder workflows, see batch resize images on Windows .
Method 2: Resize in Photos or Paint
Best for: One or a few files with built-in tools.
Photos (Windows 11):
- Open the image in Photos.
- … → Resize image, pick a width, and save a copy.
Paint:
- Open the file.
- Choose Resize, set pixels or percentage, lock aspect ratio.
- Save as JPEG or PNG with a new filename.
Zoom on text and fine lines after resize. Shrinking a screenshot below its display width makes type unreadable.
Limitation: No saved presets across dozens of files.
Method 3: Batch with FFmpeg
Best for: PowerShell loops on a folder of JPEG or PNG.
winget install --id Gyan.FFmpeg -e
mkdir out
Get-ChildItem *.jpg | ForEach-Object {
 ffmpeg -i $_.FullName -vf scale=1920:-2 "out\$($_.Name)"
}
scale=1920:-2 keeps aspect ratio. Document the width in your repo so teammates match often.
Limitation: Command-heavy. Online resize tools upload your assets; for unreleased mockups, keep processing local. See are online file compressors safe on Windows .
Aspect ratio and upscaling
| Task | Safer approach |
|---|---|
| Fit a hero slot | Crop in the design tool, then export at target width |
| Fix wrong orientation | Rotate in Photos before resize |
| Need larger than source | Re-export from vector or RAW; avoid upscaling |
| Mixed portrait and landscape | Separate presets per orientation |
Never upscale a JPEG and re-compress hoping for sharper detail. You add artifacts without recovering information that was never in the file.
When Photos or Paint is enough
Photos or Paint can finish a single asset when the new width already matches the layout.
GetCompress also helps when the same width returns across dozens of files, or when you also convert format in the same pass. Document the chosen pixel width in the project README so the next person does not reintroduce 4000 px exports. For WebP delivery after resize, see PNG to WebP on Windows .
- How to Compress Images on WindowsCompress images on Windows with GetCompress, Photos, or FFmpeg. Resize JPG and PNG, convert WebP, and keep sharp UI for email or web.
- Batch Resize Images on WindowsBatch resize images on Windows with GetCompress, Photos, or FFmpeg. Scale dozens of PNG and JPEG files to a shared max width locally.
- Convert PNG to WebP on WindowsConvert PNG to WebP on Windows with GetCompress, cwebp, or a Photos resize first. Keep a JPEG or PNG fallback for older browsers.
- Resize Image Pixels on MacResize image pixels on Mac with GetCompress, Preview Adjust Size, or sips. Match export width to where images actually display.